EnGenius Cloud First Impressions


The inevitable march towards the clouds continues.
I'm often melancholic, but in this instance, that sentence isn't some pessimistic soliloquy on my mortality; but an observation of the current trend for a significant chunk of the IT and technology market. Wi-Fi, particularly the management of WLAN systems, is no exception. Every major vendor in the enterprise wireless space seems to be looking up at the cloud.
I was recently presented with the opportunity to take a look at the offerings of a vendor I hadn't personally come across before; EnGenius Networks, a brand of Taiwanese manufacturer Senao Networks.
Now, some might be wondering if I live my life with my eyes closed and ears covered. How could I possibly not know of EnGenius? But, I honestly hadn't come across them before. But I decided any opportunity to gain insight into another vendor's solution and offerings shouldn't be passed up.
EnGenius offer both an on-premise controller-based system called fit, and a cloud-based solution aptly named EnGenius Cloud (🤔The enterprise space isn't the most innovative with names). The former is catered to homes and small businesses, while the latter is designed with medium enterprises in mind and will be the focus of this article.
I was provided with both an EnGenius ECW120 Access Point and an EnGenius ECS1008P 8-port PoE switch. Both of these products are at the lower end of EnGenius' cloud-based device portfolio but were sufficient enough to allow me to get to grips with the vast majority of the Engenius Cloud ecosystem.
The EnGenius ECW120 is a WIFI5 802.11ac Wave 2 Access Point with 2x2:2 MU-MIMO antennas. It is rated for maximum data rates of 400Mbps and 867Mbps on the 2.4GHz and 5GHz bands respectively. The AP is compliant with 802.3af PoE with a peak power consumption of 12W. These specs are certainly nothing to write home about in 2023, but this is EnGenius' lowest-end cloud AP. At the top-end of their cloud wireless access point product stack is the ECW336 a WIFI 6 and 6e AP capable of 1148/2400/4800 Mbps maximum data rates on 2.4/5/6 GHz respectively.
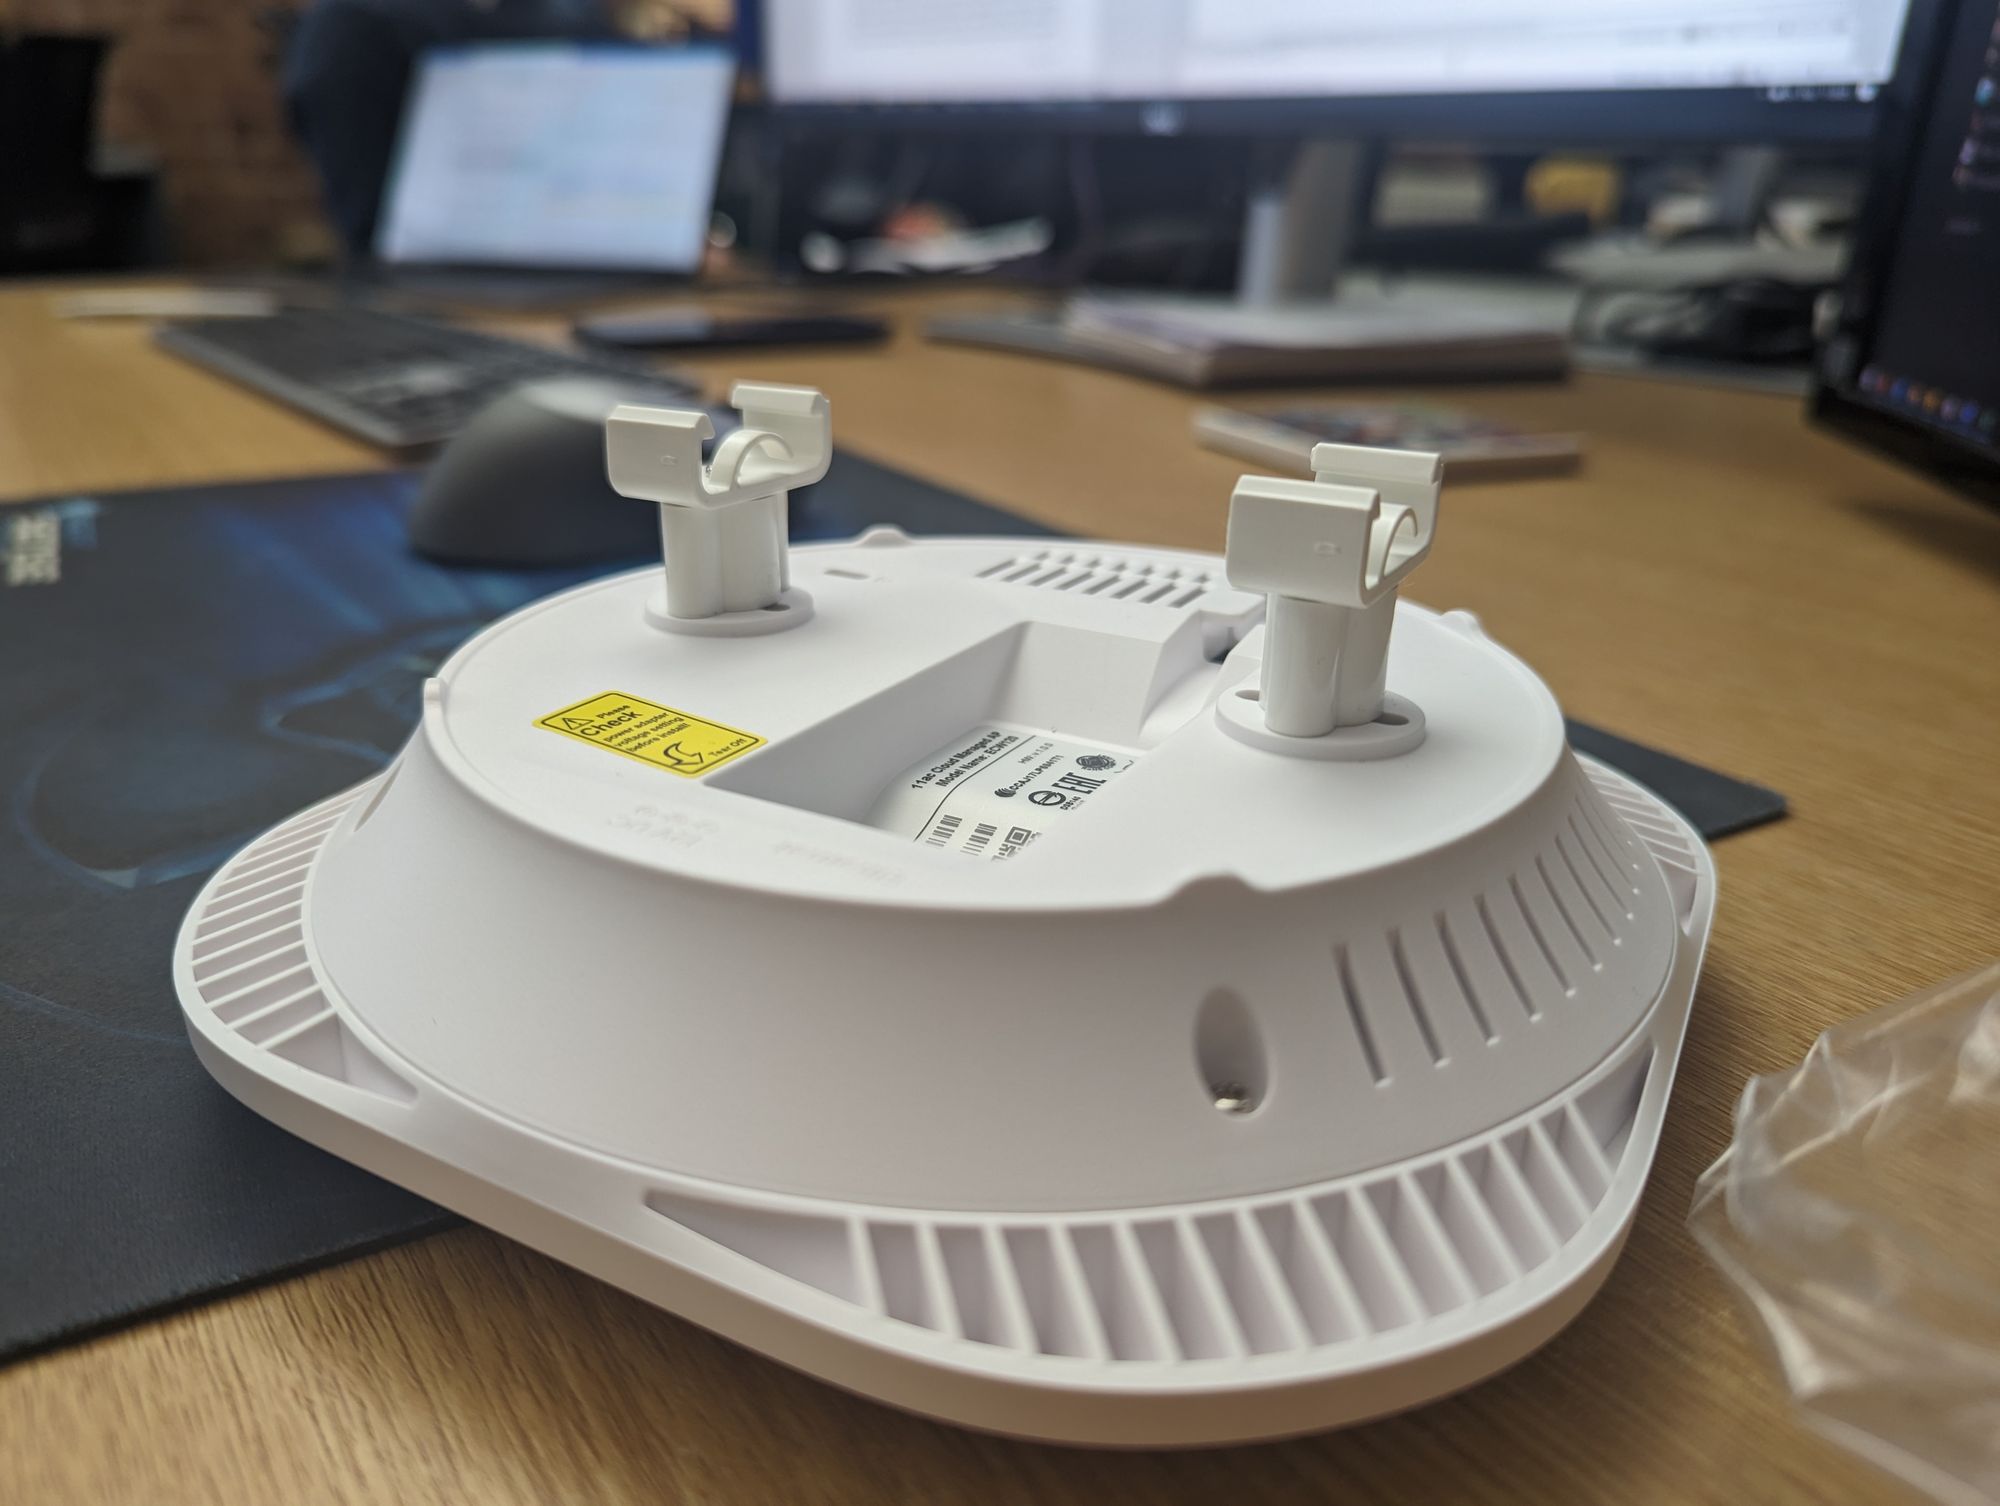
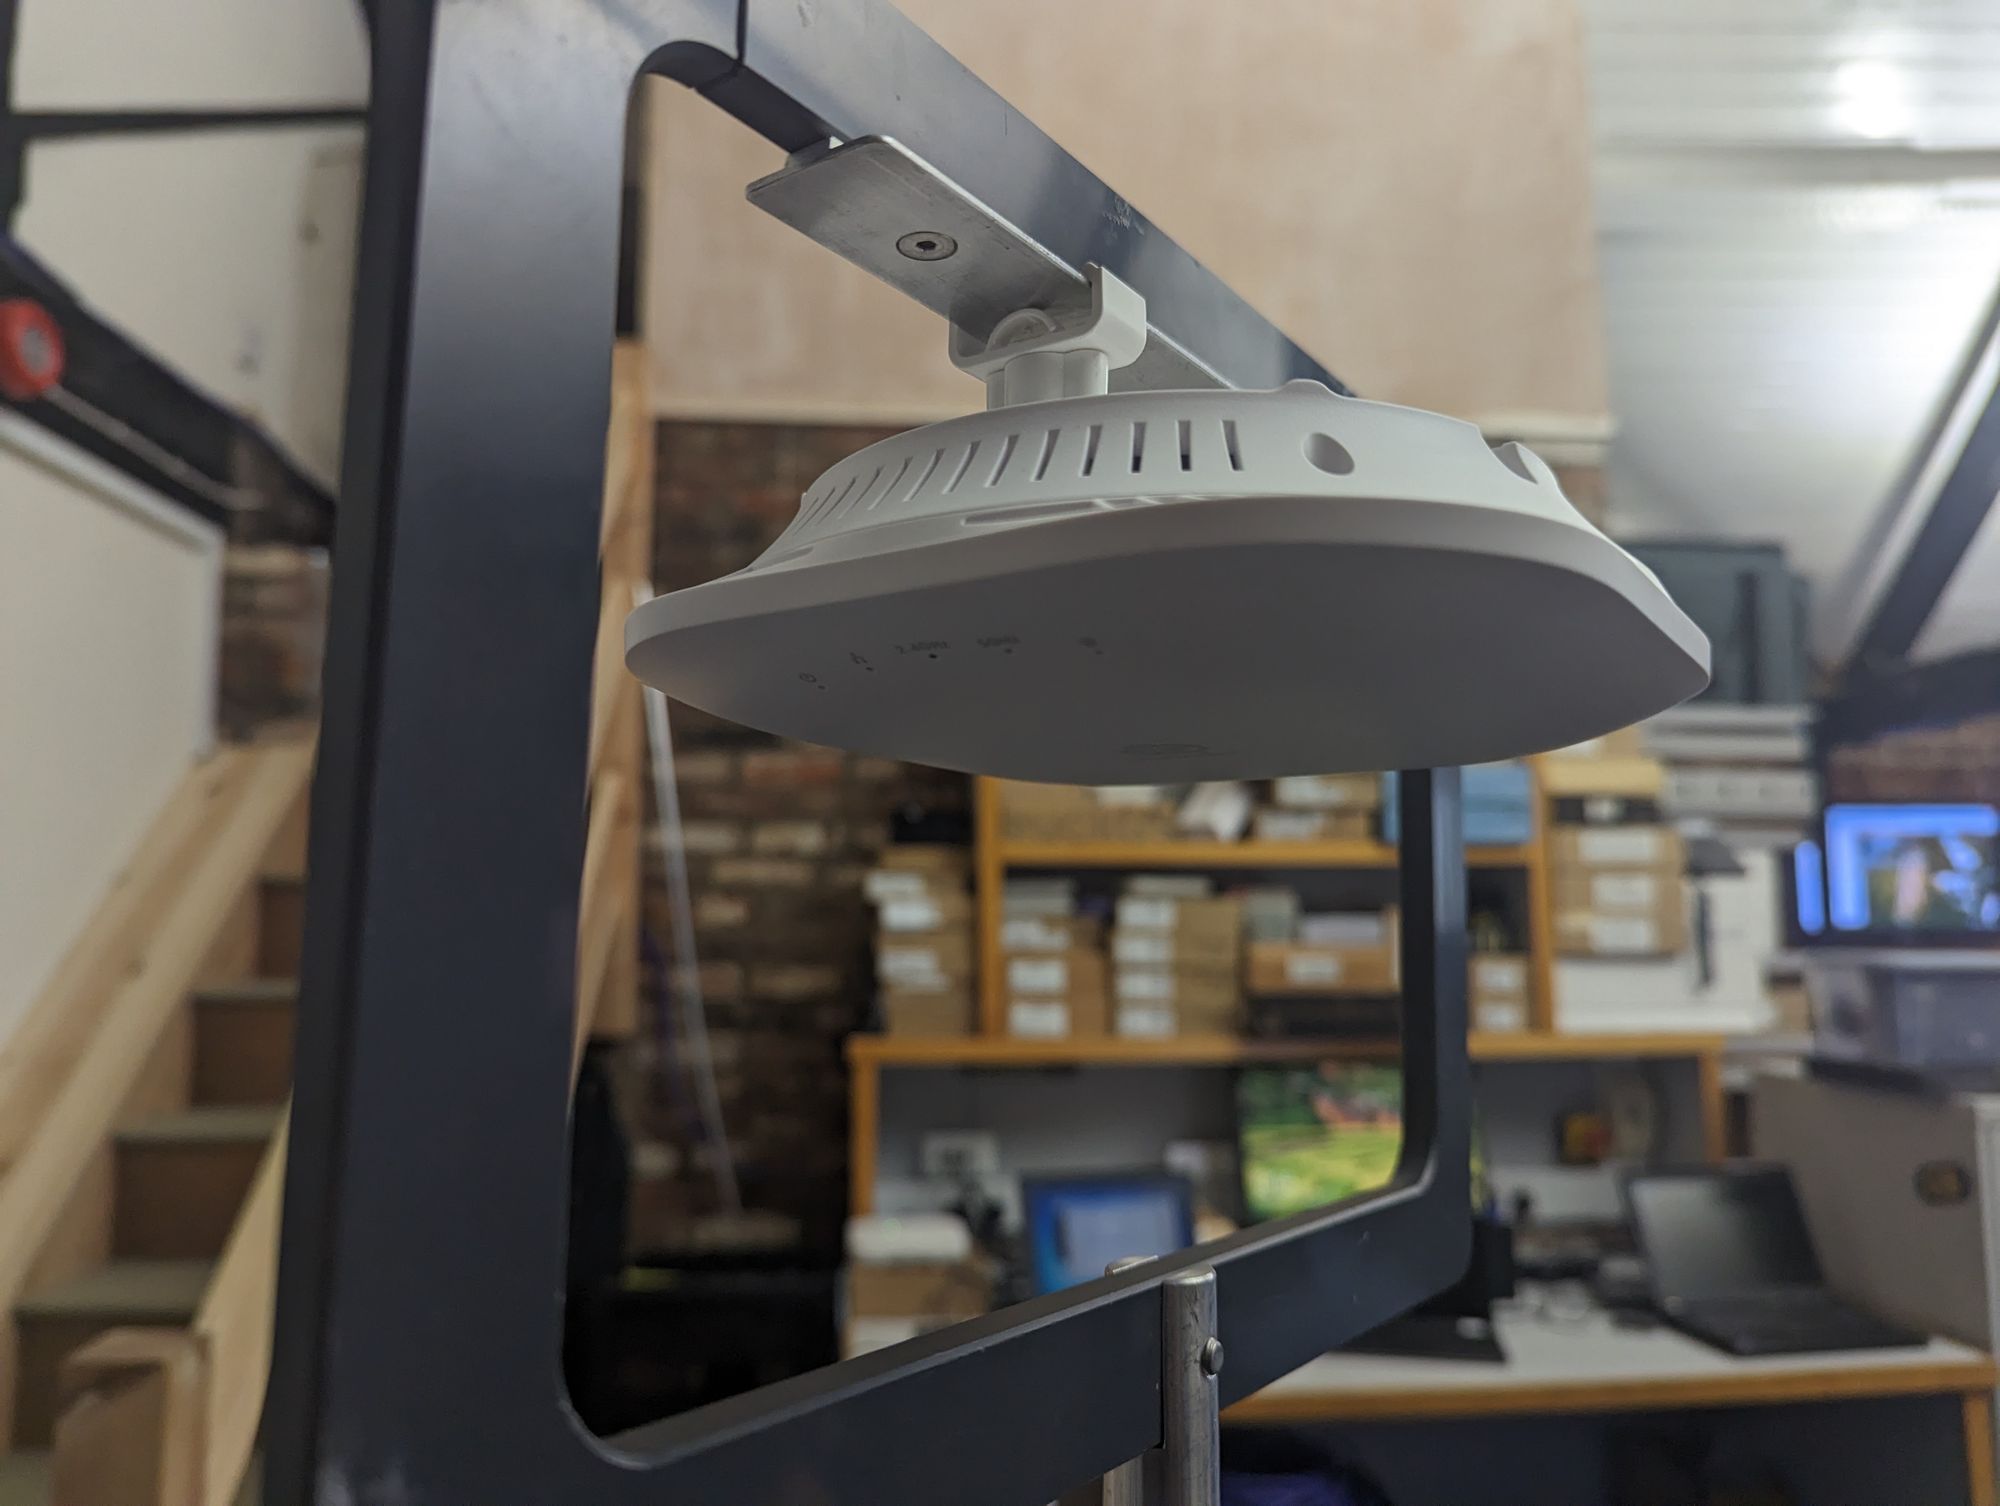
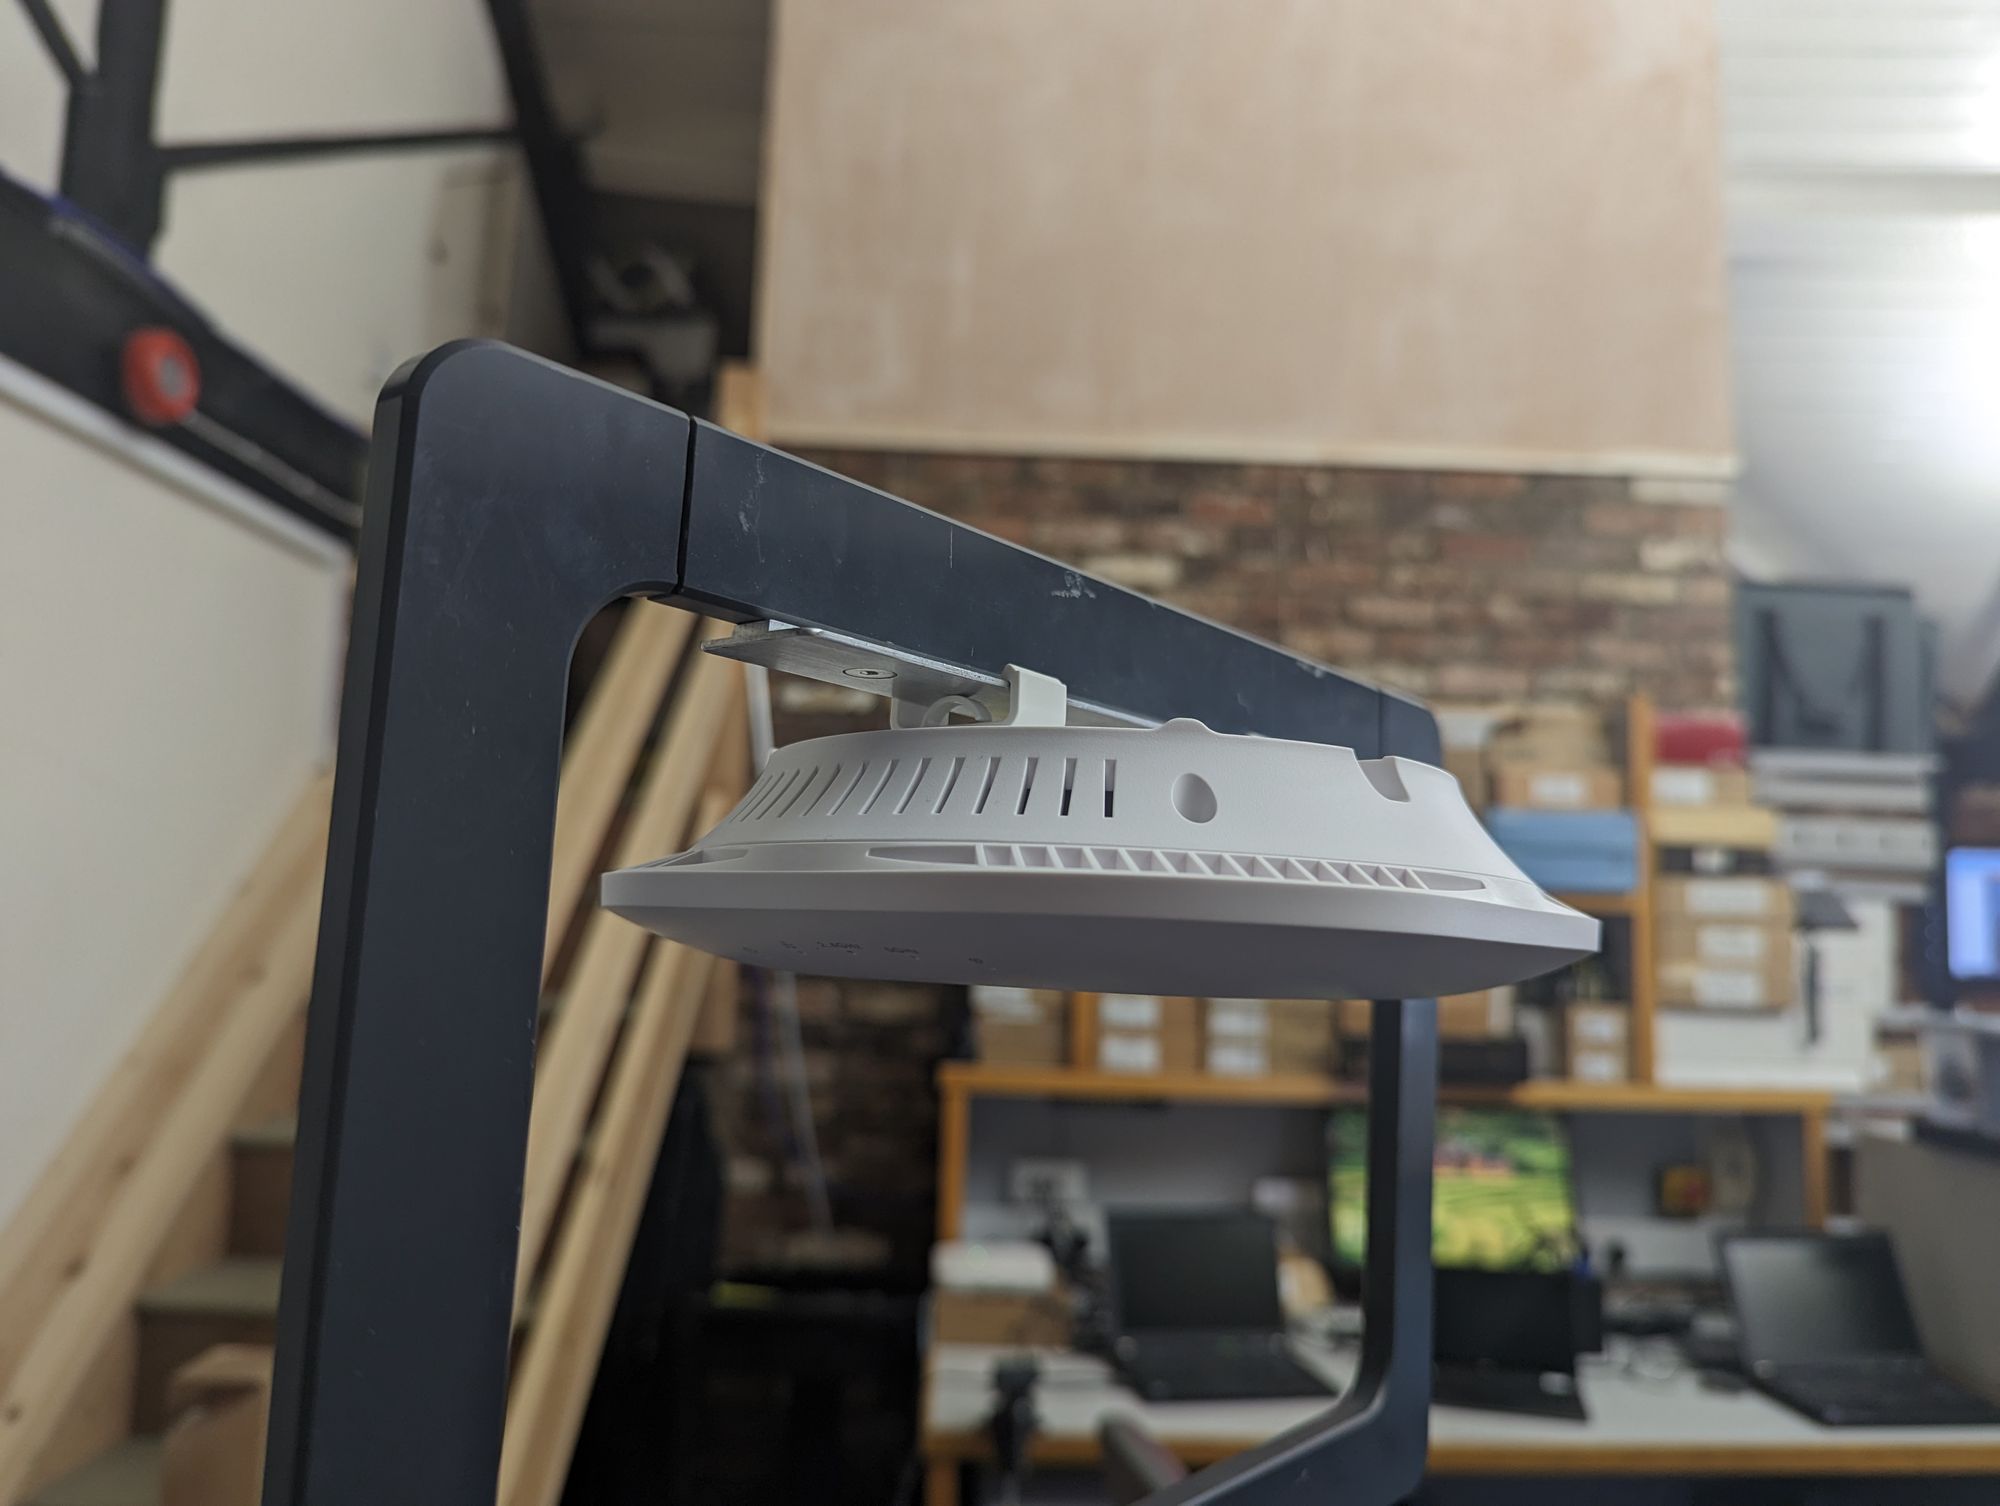
The ECW120 comes packaged in a reasonably sturdy cardboard box, similar to that of most other vendors in this sort of category, with the familiar egg-carton style holder. Included in the box are the ECW120 AP (of course), a flat wall mount, and interestingly; a smaller cardboard box containing additional mounting hardware for ceiling tiles. This surprised me a little given that many other, much more prolific vendors, often provide no mounting hardware at all, and then go on to offer a confusing number of additional different mounts, which only seems to serve to frustrate customers trying to decipher which one they need (I'm looking at you ExtremeCloud and Aruba 500 series). In fairness to those vendors though the mounts bundled in with this AP are pretty basic. But the fact they're bundled in as standard can prove to be useful for someone who might just want to stick it up and move on and not deal with a minefield of additional hardware.
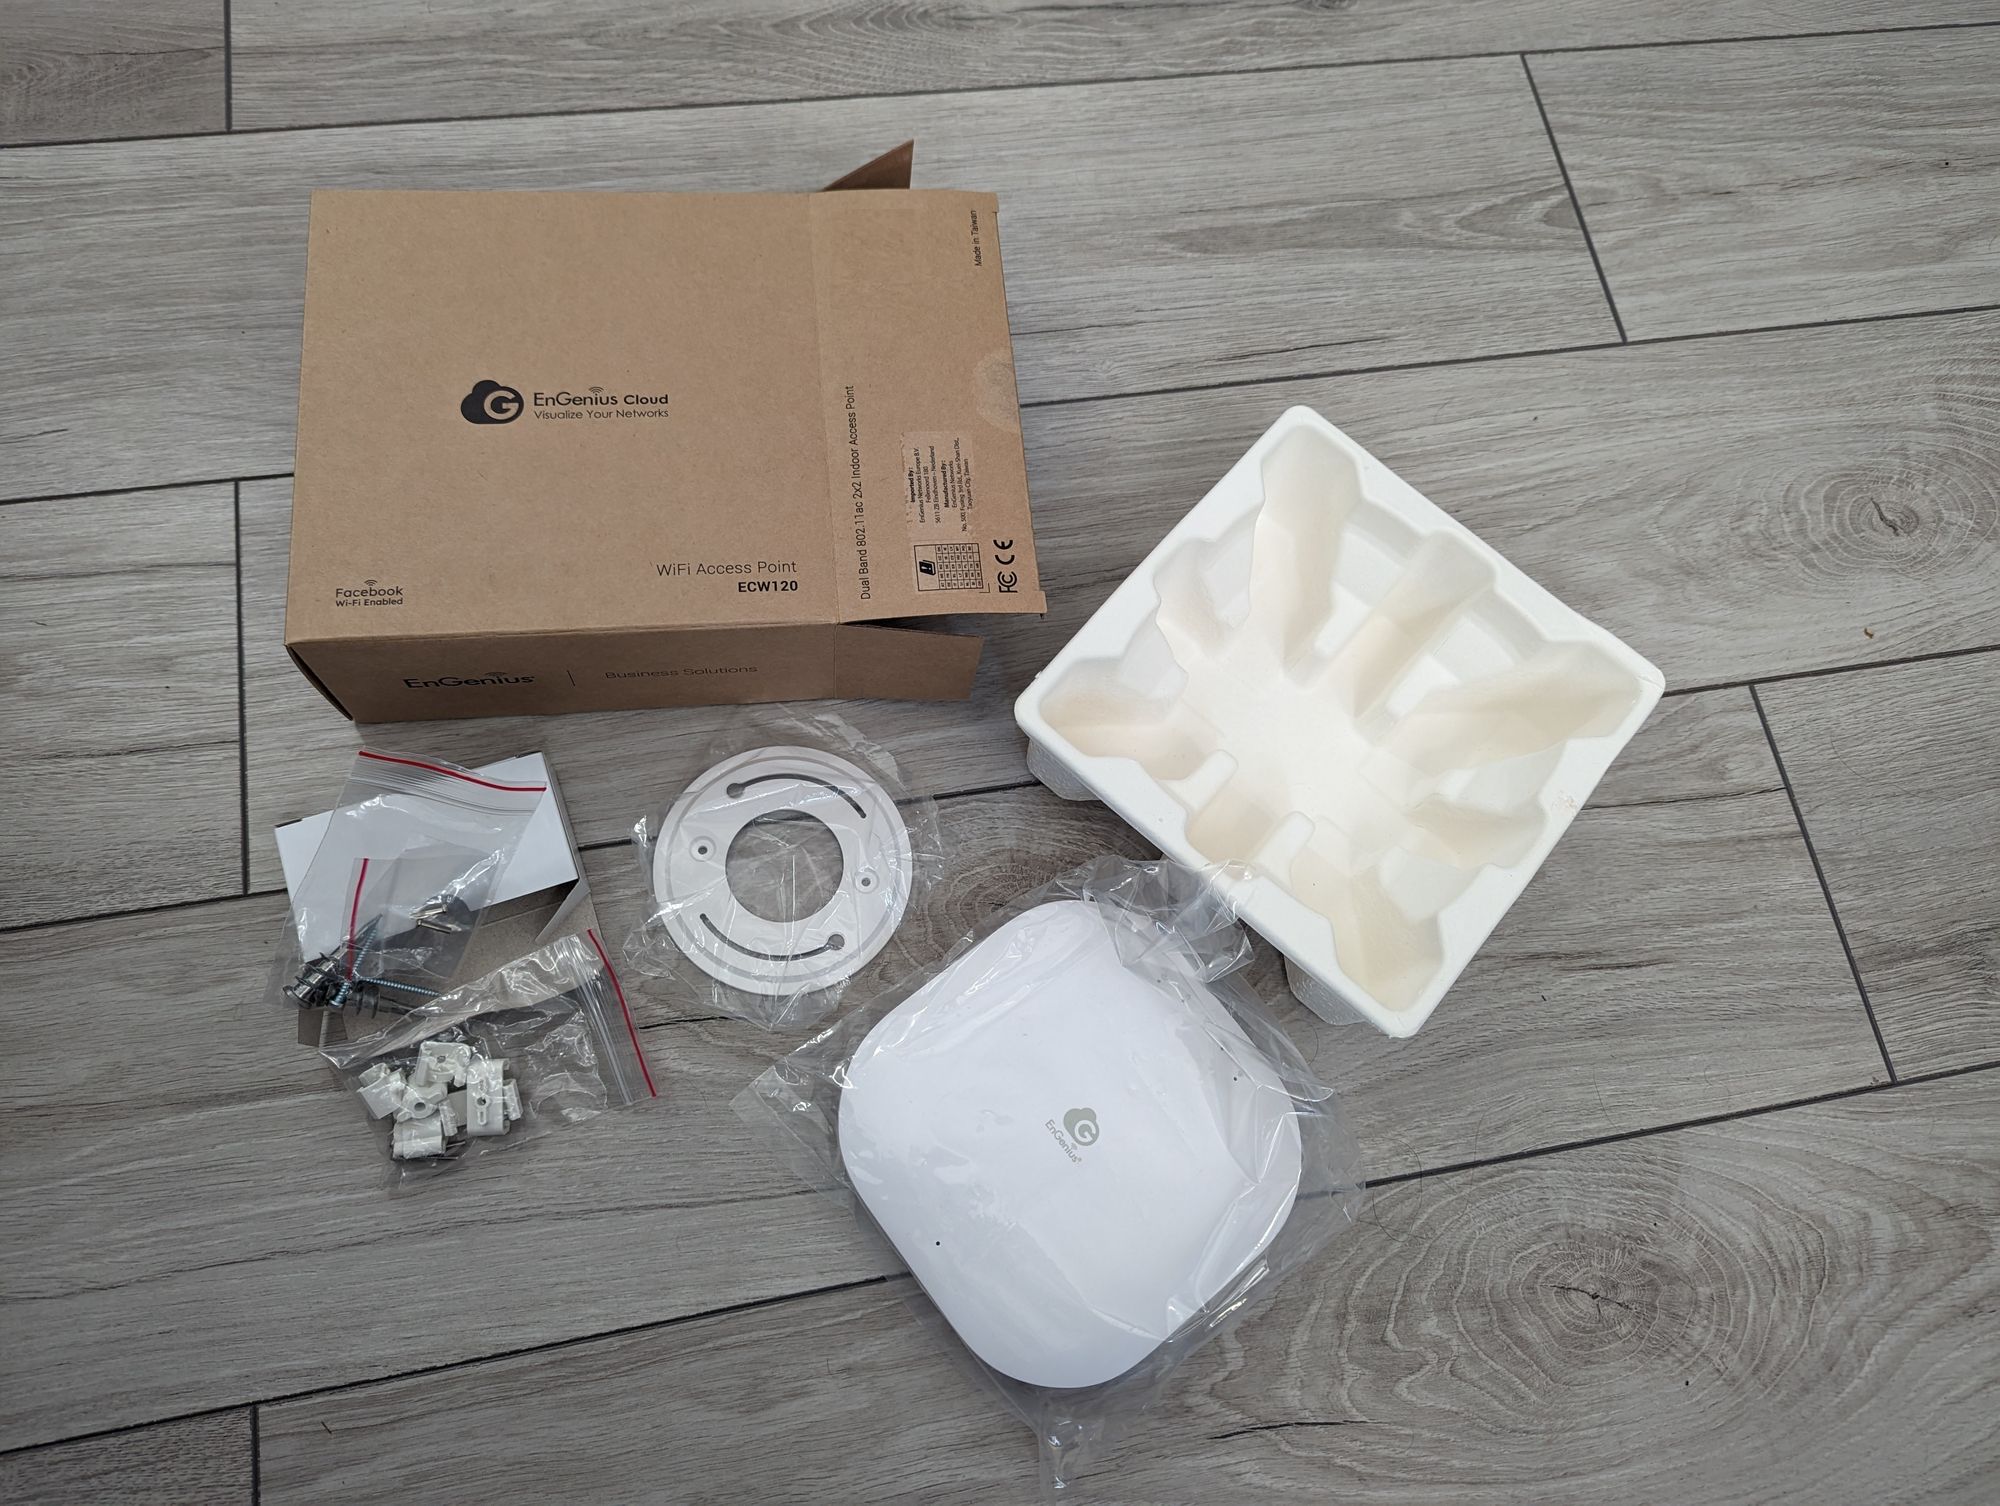
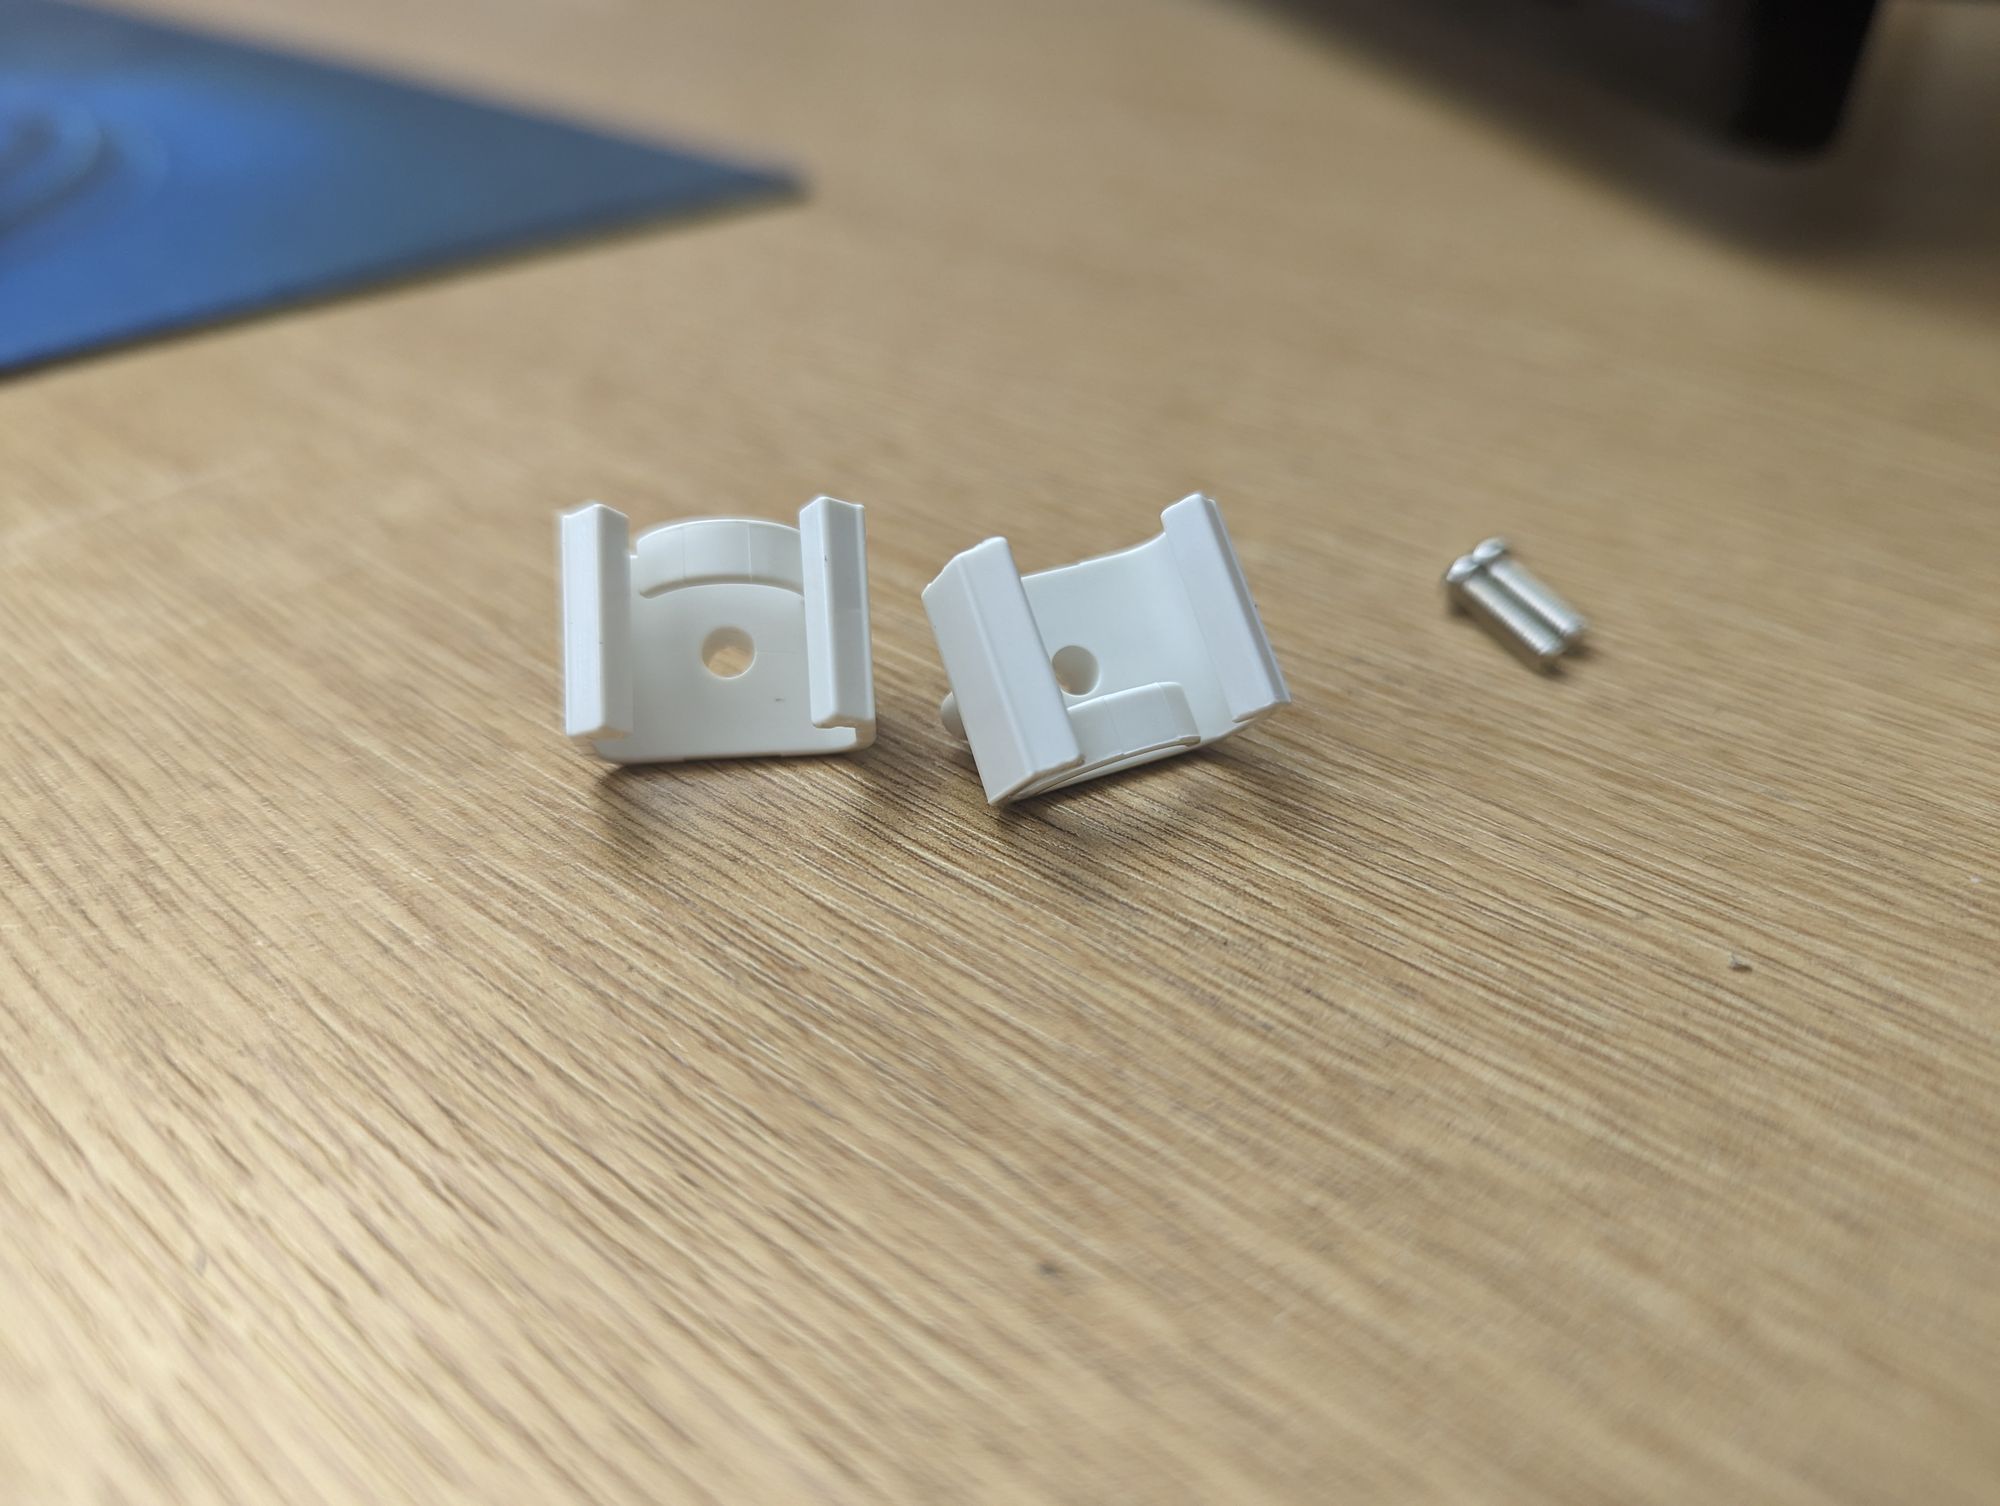
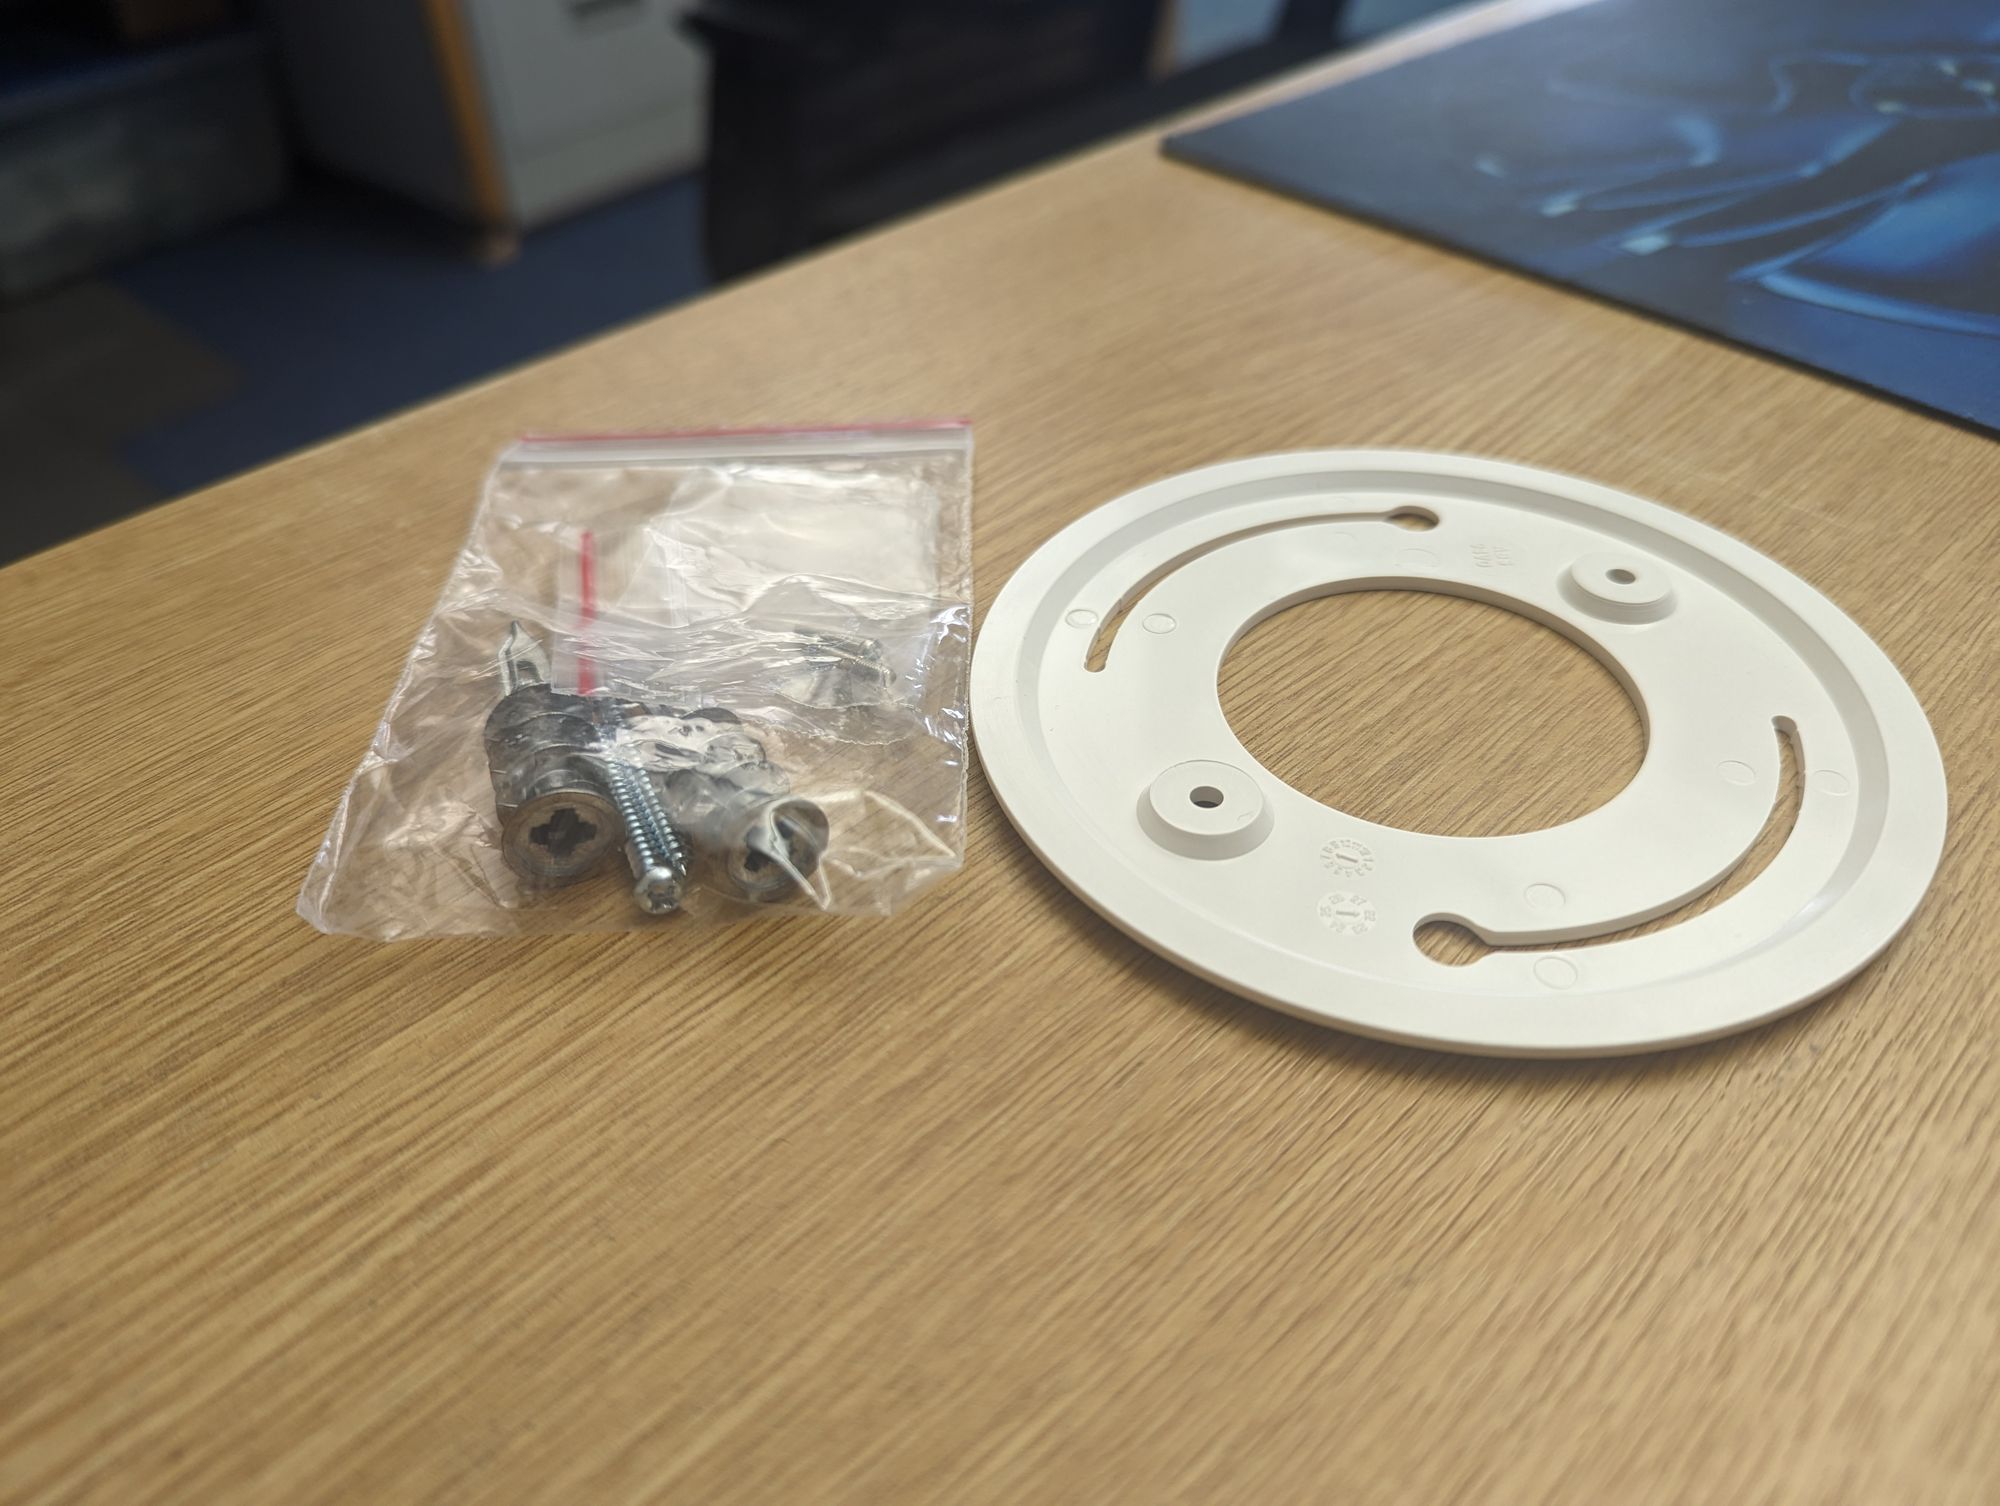
The images below show the different mounting solutions provided in the box, with a flat mount (including wall plugs and screws) along with mounting clips for 15/16" and 9/16" ceiling tile rails. These rail clips also feature extenders to allow for mounting to ceilings featuring ceiling tiles that sit lower than the rail, avoiding that ugly pushed-up tile look. The fact that all of these were included in the box is quite impressive as it means that any customer can get one of these APs and be able to mount it to pretty much any ceiling type they need without additional hardware. I'm not sold on the durability of these however as they are just plastic pieces, unlike many other vendors who opt for metal mounting hardware. This might not be a problem for end users though as it's not often an installed AP is moved, I may be thinking more from a wireless engineer's perspective in which I set up and take down APs for surveys and the like much more frequently. But it's still something a customer may consider, especially if these were to be deployed in a less-than-ideal location like a workshop or warehouse as opposed to a simple office.
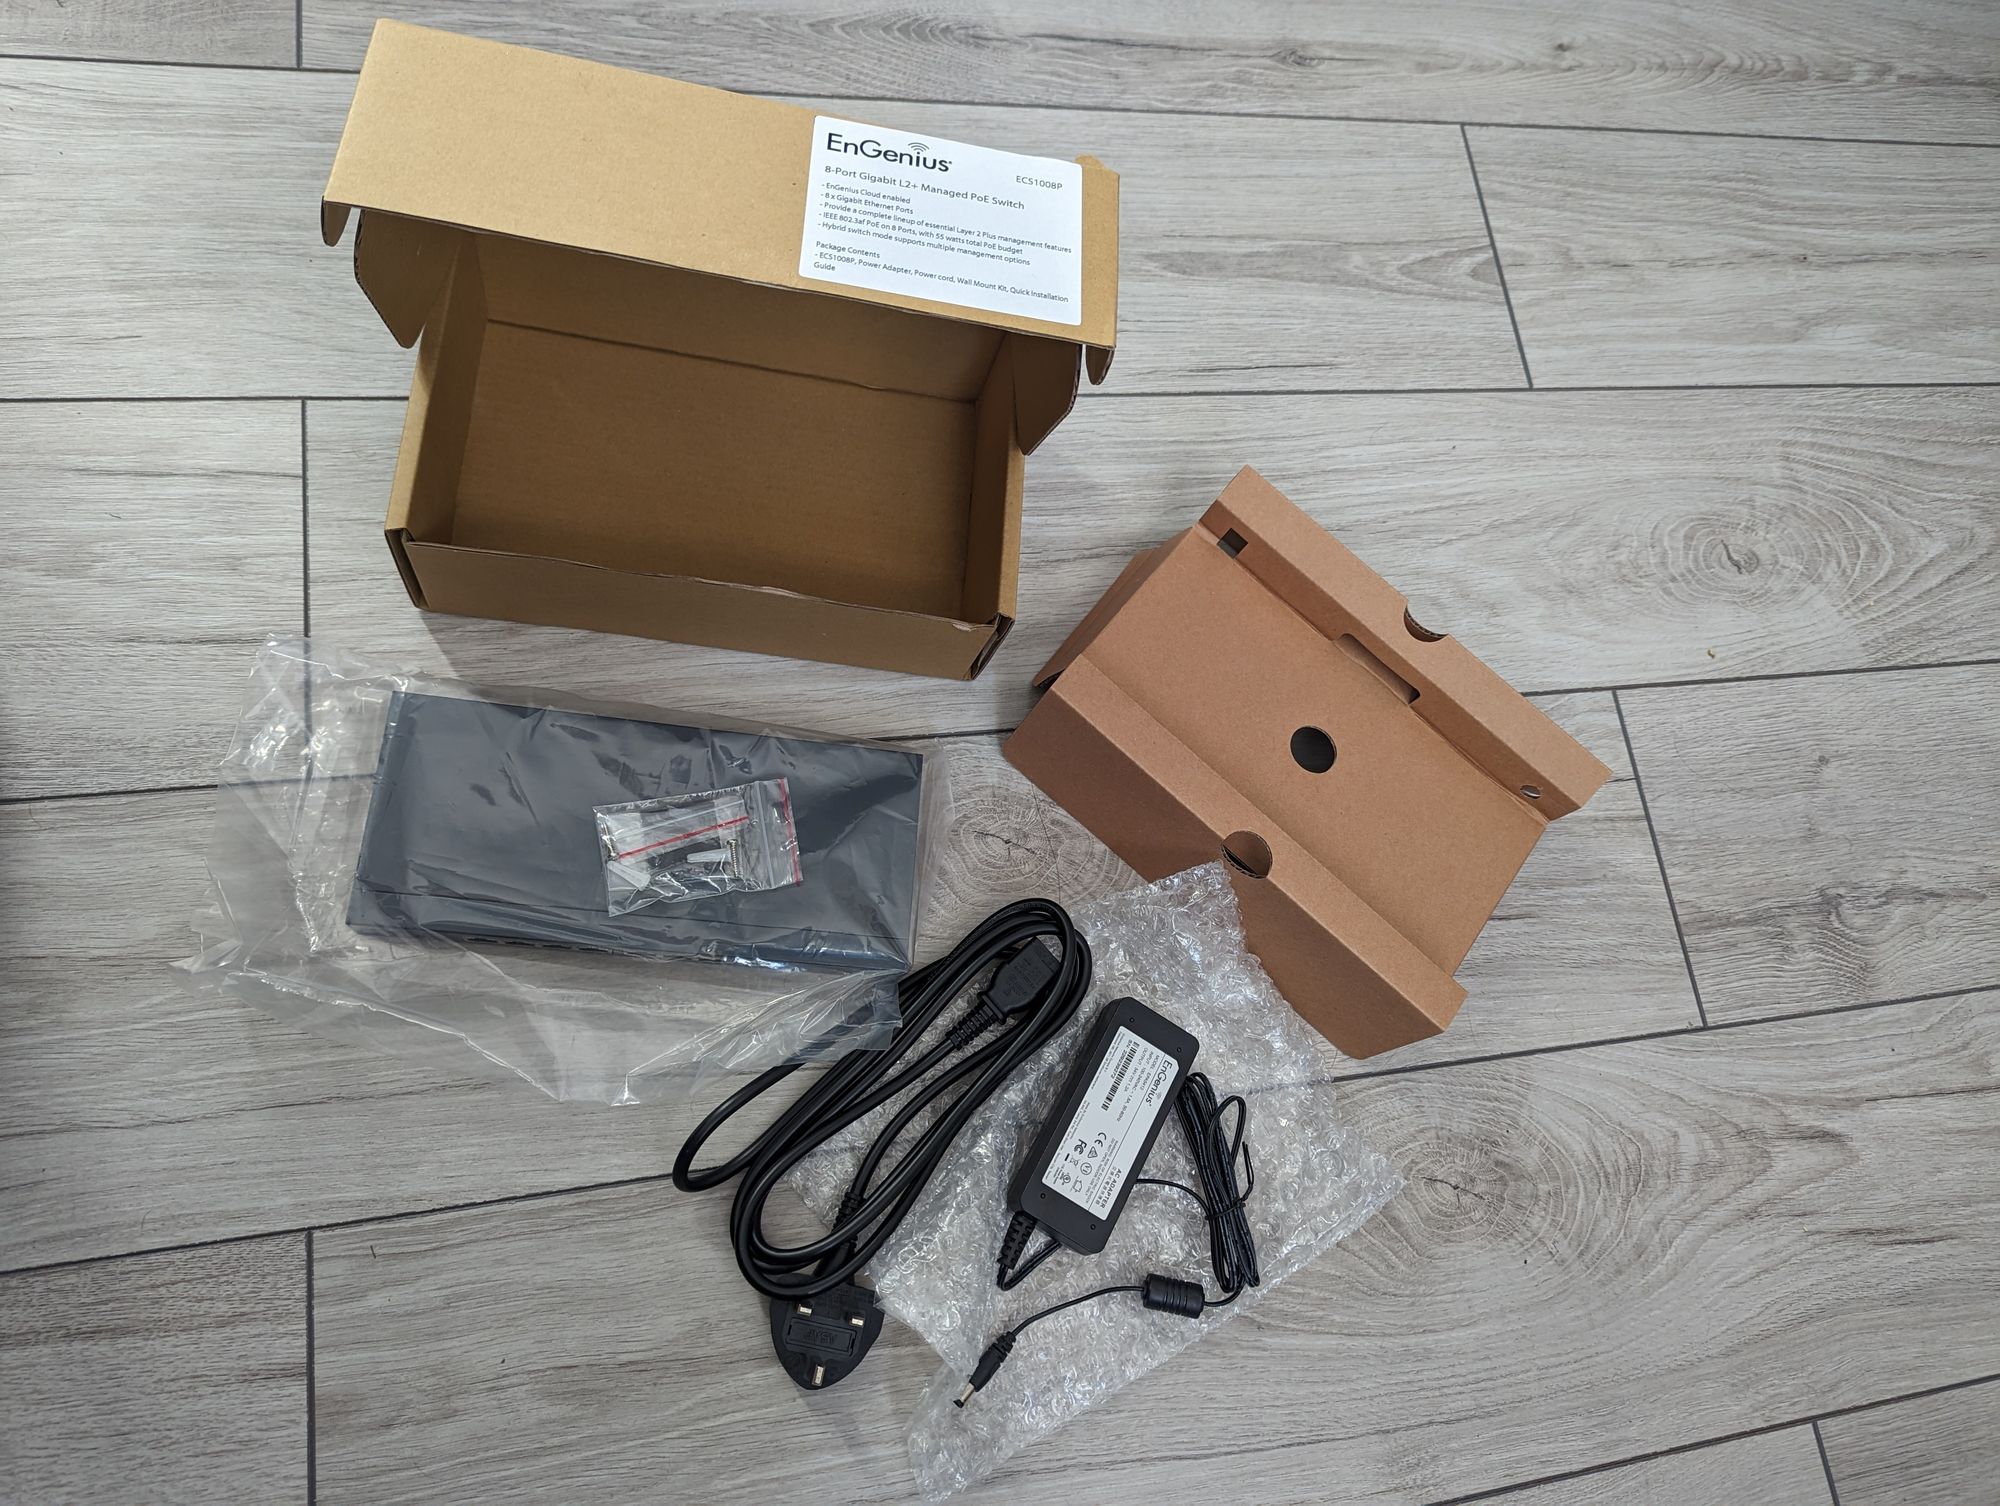
The EnGenius ECS1008p features eight 10/100/1000 Base-T GbE ports capable of providing 802.3af PoE with a 55W power budget. This switch offers 16Gbps of switching capacity. Again, this is certainly not a switch that will blow anyone away, but EnGenius does offer several other switches with greater capabilities; including multi-gig and 10-gig-based switches, and even an SFP+-based full fibre switch.
The ECS1008p packaging is a similar affair. Sturdy cardboard box with the switch, AC Adaptor and a small plastic bag containing some basic mounting screws and self-adhesive rubber feet. The only issue, if you can call it that, was that the box I received came with a non-UK plug. but that's easily resolved as I have around ten million unused IEC leads lying around and I'd imagine an actual customer would receive one with a plug appropriate for their country.
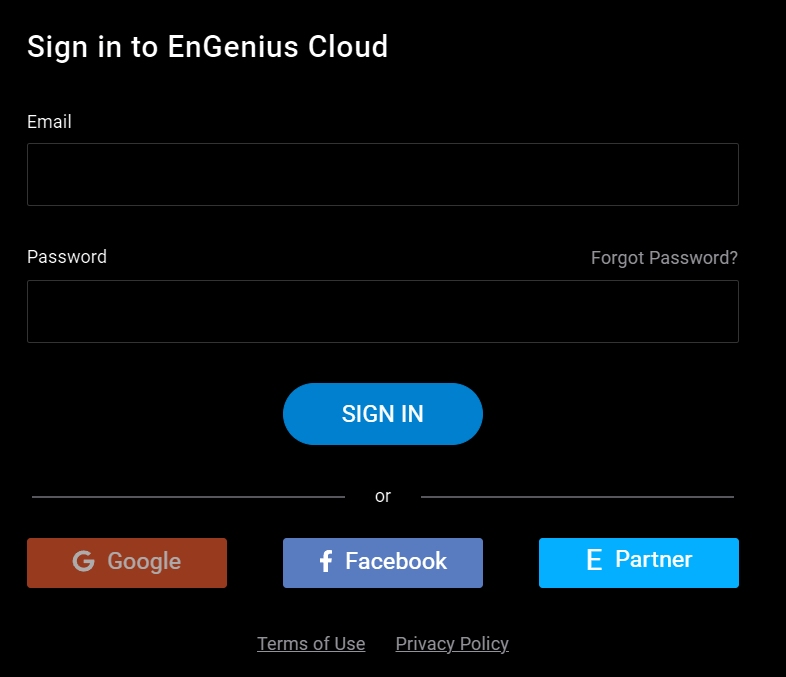
The setup of the EnGenius Cloud system is relatively straightforward. Navigate to https://cloud.engenius.ai/ in a browser, and click "sign up" in the top right corner. Here you can enter the relevant details and an EnGenius Cloud instance will be created for you. You can then log in to the cloud platform using these credentials. Two-factor authentication can also be configured for additional security. By default, this user account is the main admin of the instance or organisation. Additional users (up to 10 on the free tier) can be added within the dashboard, an email is then sent to each of these users to set up their passwords.

The base cloud platform is free, which gives users the ability to onboard and manage devices. The most basic configuration is available under the free tier, with some additional configurations requiring the pro license. Once signed up and signed in you are presented with a dashboard. This provides an overview of the current state of the network including the status of all onboarded devices.
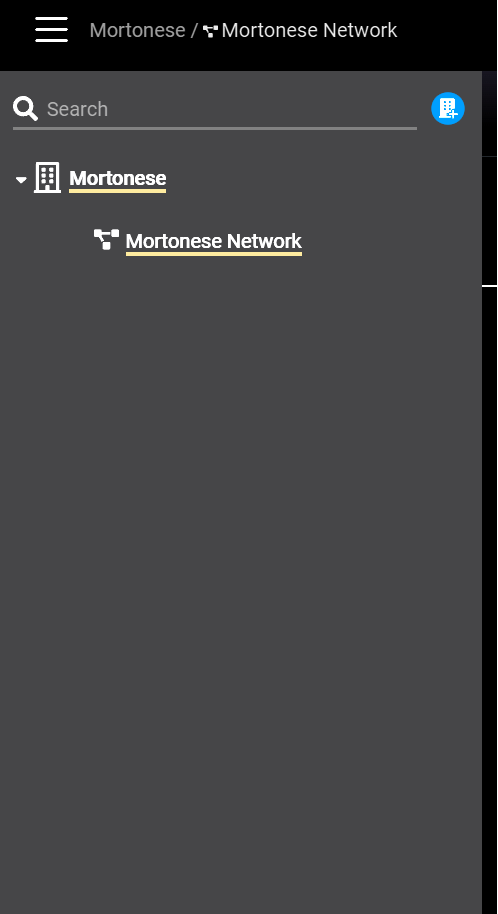
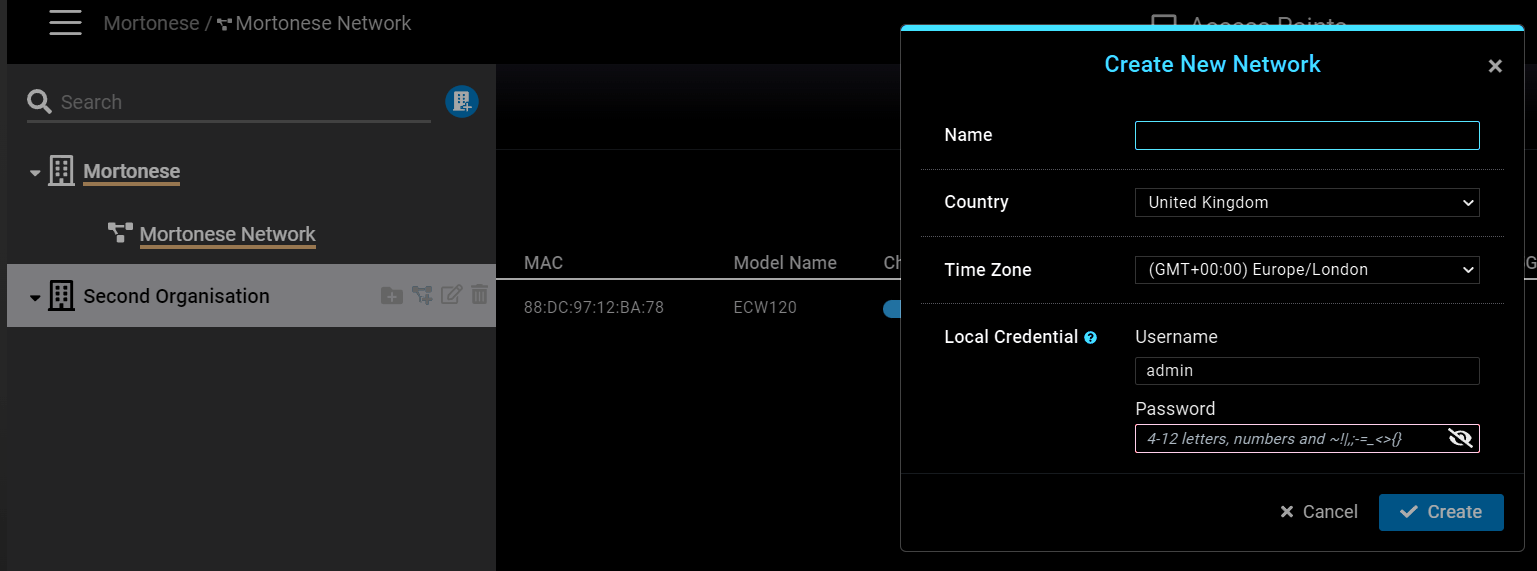
As with a lot of cloud platforms, EnGenius works in a sort of hierarchical view. With an "Organisation" at the top, this then contains individual "Networks", which contain APs, Switches, and other devices. To create an organisation select the burger menu at the top of the dashboard. Then click the blue circle "Add Organisation" (you can have multiple organisations in one instance). Give the organisation a name, and provide the location and timezone. To add a network to an organisation, select the organisation in question and click "Add Network". Networks can be given names, locations, time zones (locations and time zones can be different to the organisation - this is typically for say offices in different countries), and a local credential (this is used as the login for the web GUI of any devices in this network).
I have to admit I'm a little confused by the "multiple organisations" component. Surely a user would typically be administering one organisation, perhaps with multiple locations (which can be split into multiple "networks"). Unless this is a feature tailored more towards MSPs, with each of their clients contained within separate "organisations". Perhaps I'm missing something though, maybe there is a reason it's set up this way.

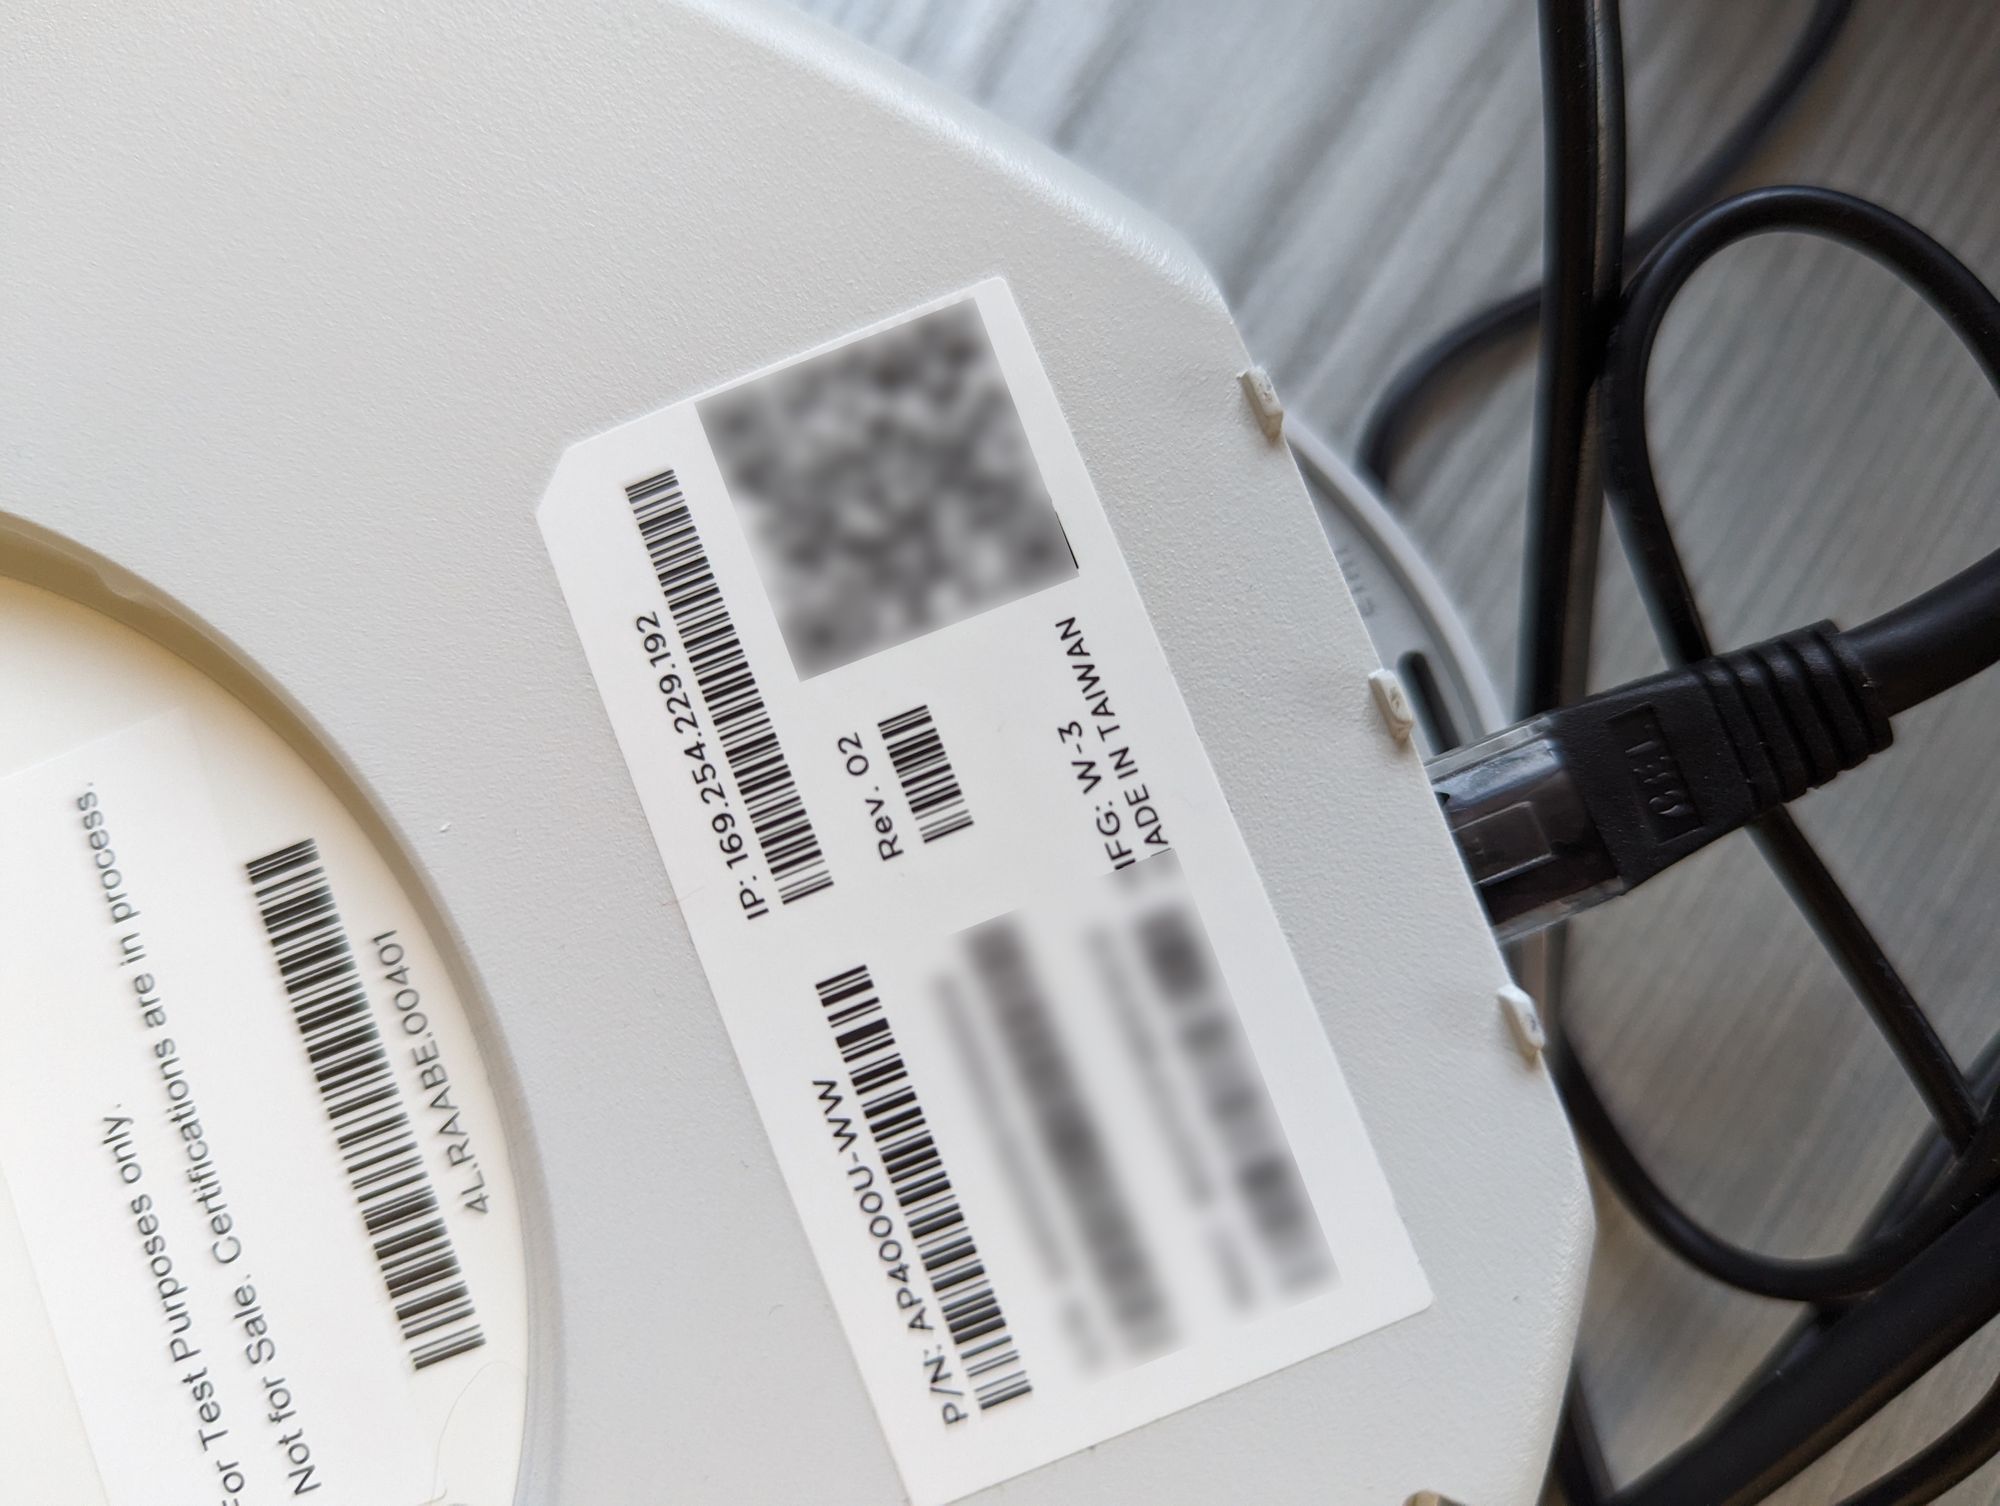
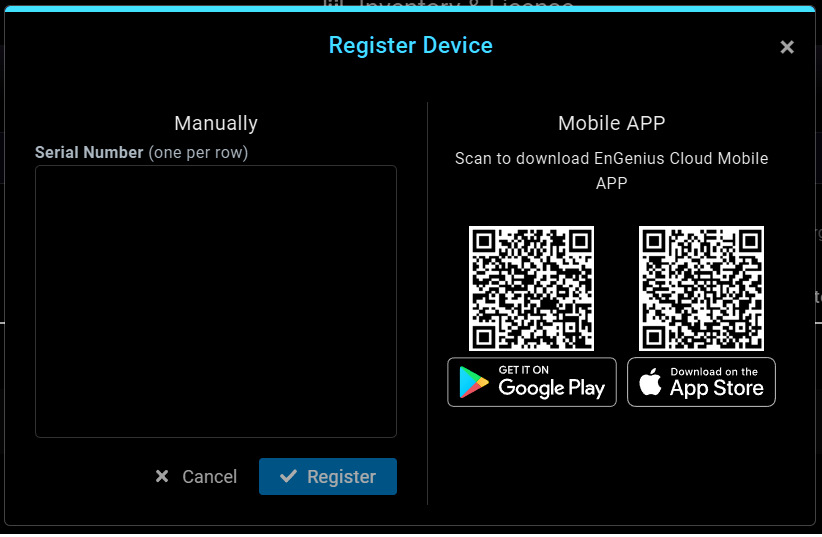
The onboarding of devices is done in the organisation's inventory. This can be accessed by navigating to "Organisation (lower-left) -> Inventory and Licence". Click "+ Register Device" (top-right) and enter the serial number of the device you wish to onboard. Alternatively, you can make use of the EnGenius Cloud ToGo Smartphone Application, which allows users to scan the QR code on the device to onboard it. Unfortunately, there is no option to mass onboard devices from a .csv file for example. This isn't a huge deal but could put users off if they're onboarding a significant number of devices. Of course, they can utilise the app to scan devices faster, but it's still a function that's noticeably lacking compared to other similar cloud solutions.
Additionally, in the "Inventory and Licence" section; purchased licences can be added to unlock additional functionality not found in the base tier. Navigate to "Licences" and click "+ Add Licence" to enter a licence key. A few other things found in the "Organisation" section include; "Security" in which "2FA Enforcement" for all users can be enabled, this forces all users within an organisation must use 2FA; "Privacy" in which "Exposure Analysis" can be enabled, this provides a timeline of clients connected to the same AP; and "Backup and Restore", a "pro" (licenced) feature that I would assume does exactly what it says.
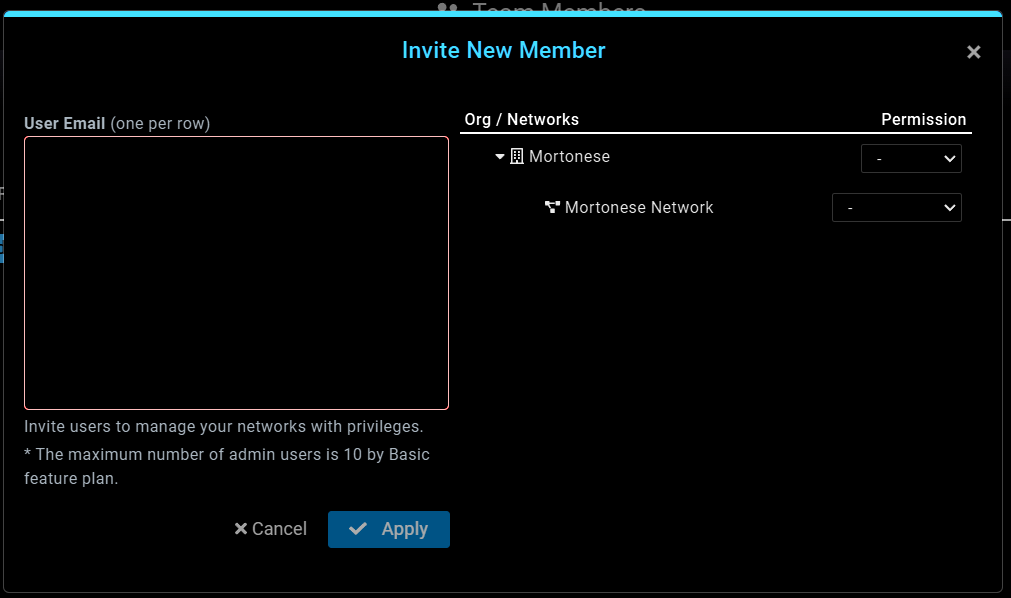
Moving up, the "Team Members" section allows for the management of users within an organisation. Here users can be invited, and assigned various permissions and networks. Click "+ Invite New Member" to bring up a modal in which user email addresses are inputted (one per row). From there they can be assigned permissions based on the Organisation (Viewer or Admin) and on the various Networks within an Organisation (View, Admin or Front-Desk). Note that the base tier (the free one) only allows a maximum of 10 Admins. I don't know if that's per organisation or per network though. Also, when adding new users, you can only assign permissions to that block of users. If, for example, you wished to onboard multiple users with different permissions, you'd have to do this one by one. As the permissions set on the right apply to all currently inputted users in the "User Email" section. There is also no mechanism for uploading a preset .csv file of anything like that. Again, while this isn't a huge deal I can imagine larger organisations would perhaps be frustrated by the "one by one" sort of approach and lack of multi-user multi-permission onboarding.
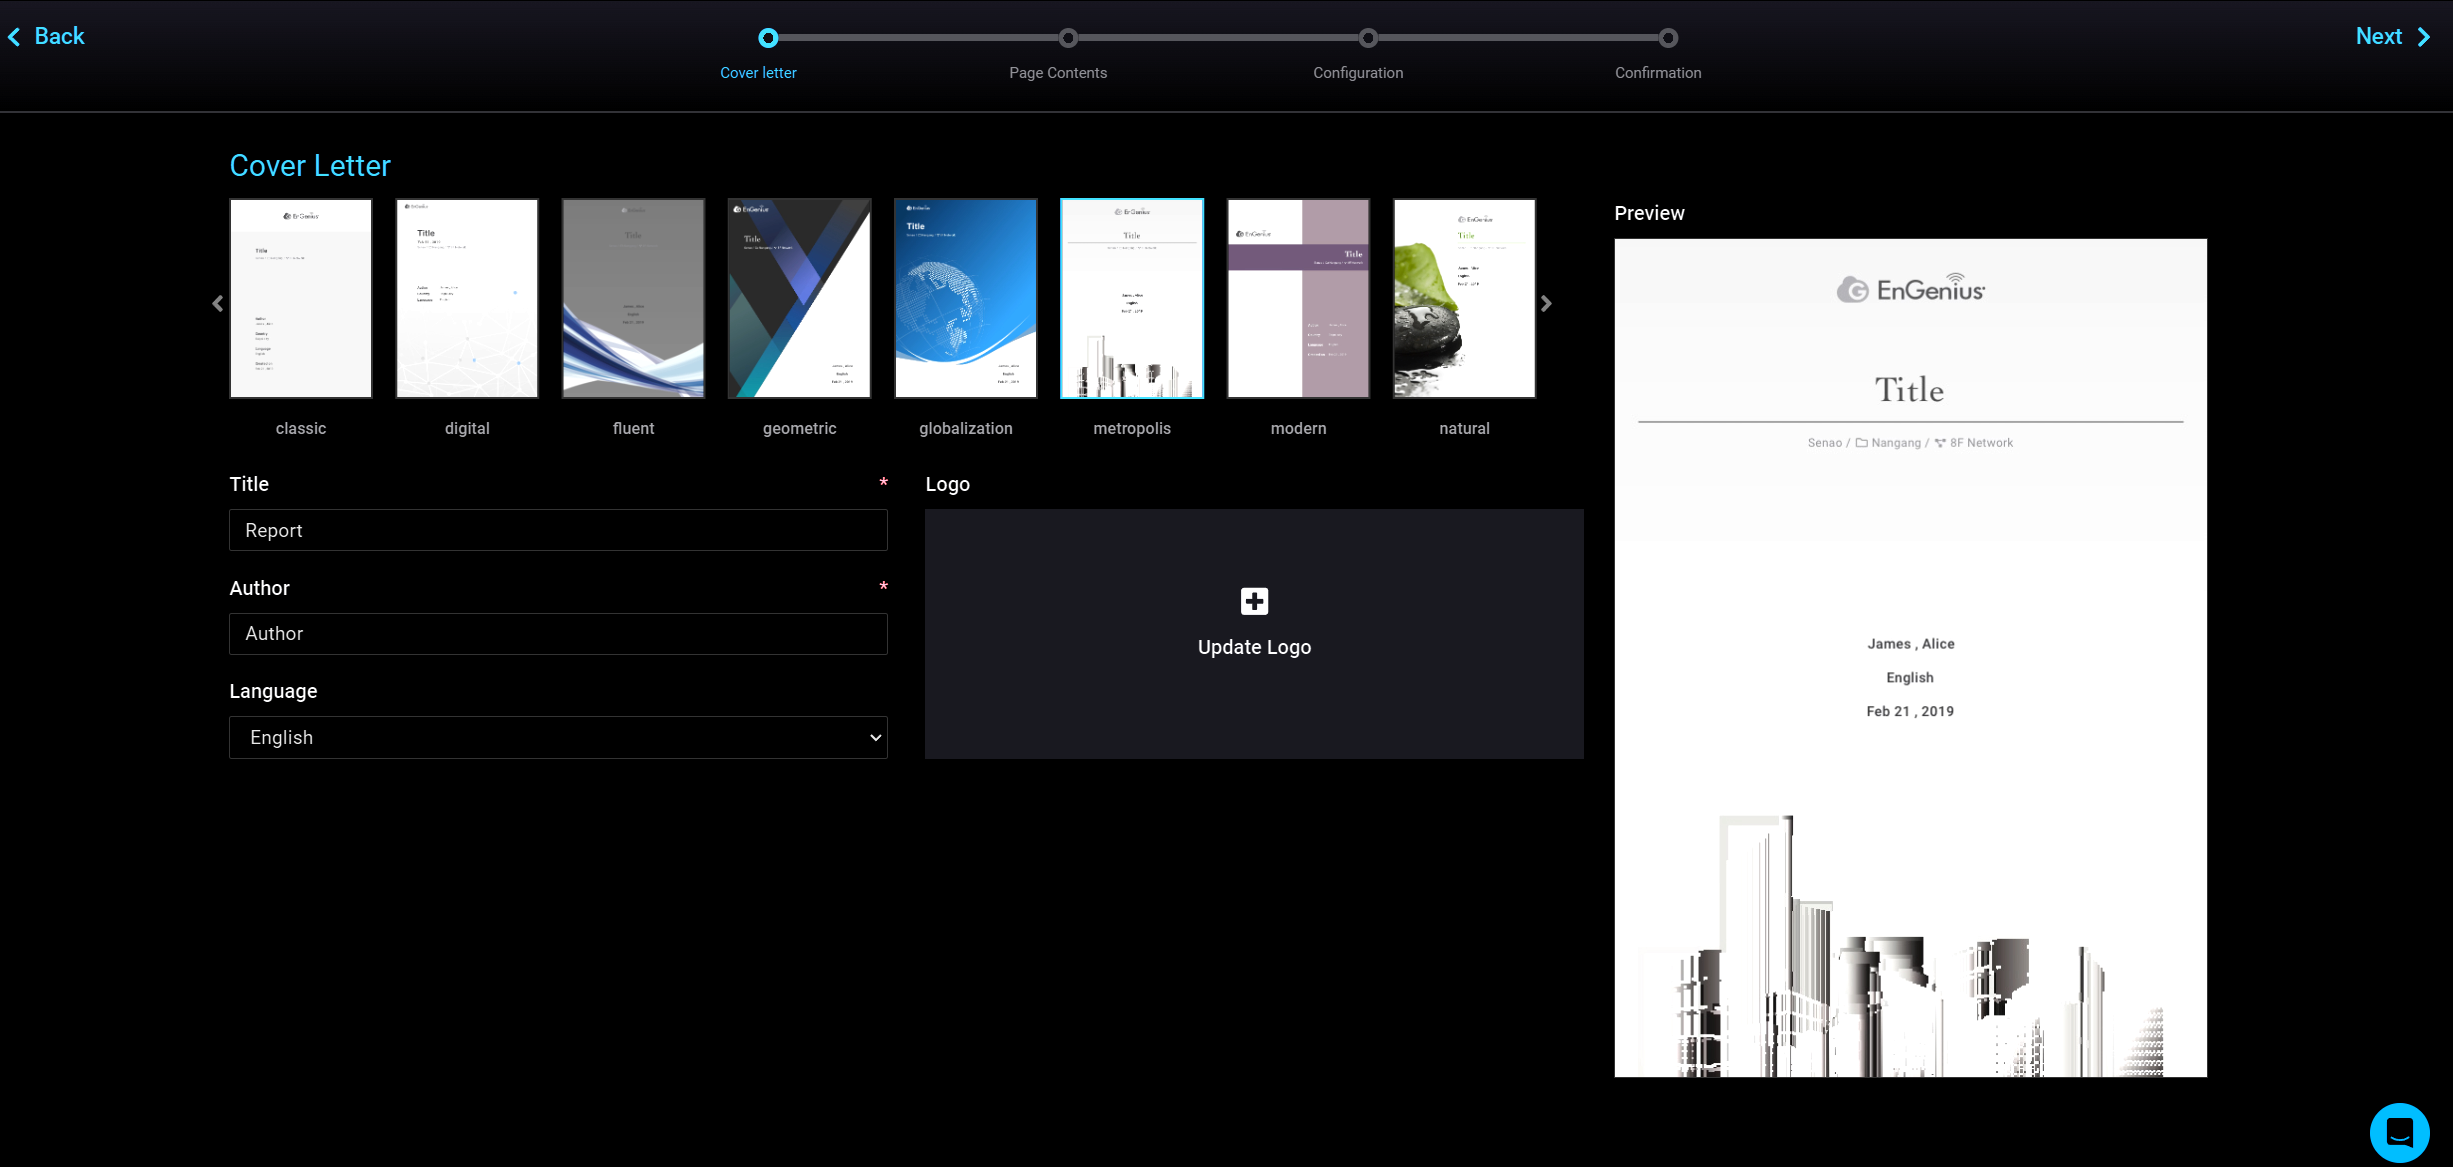
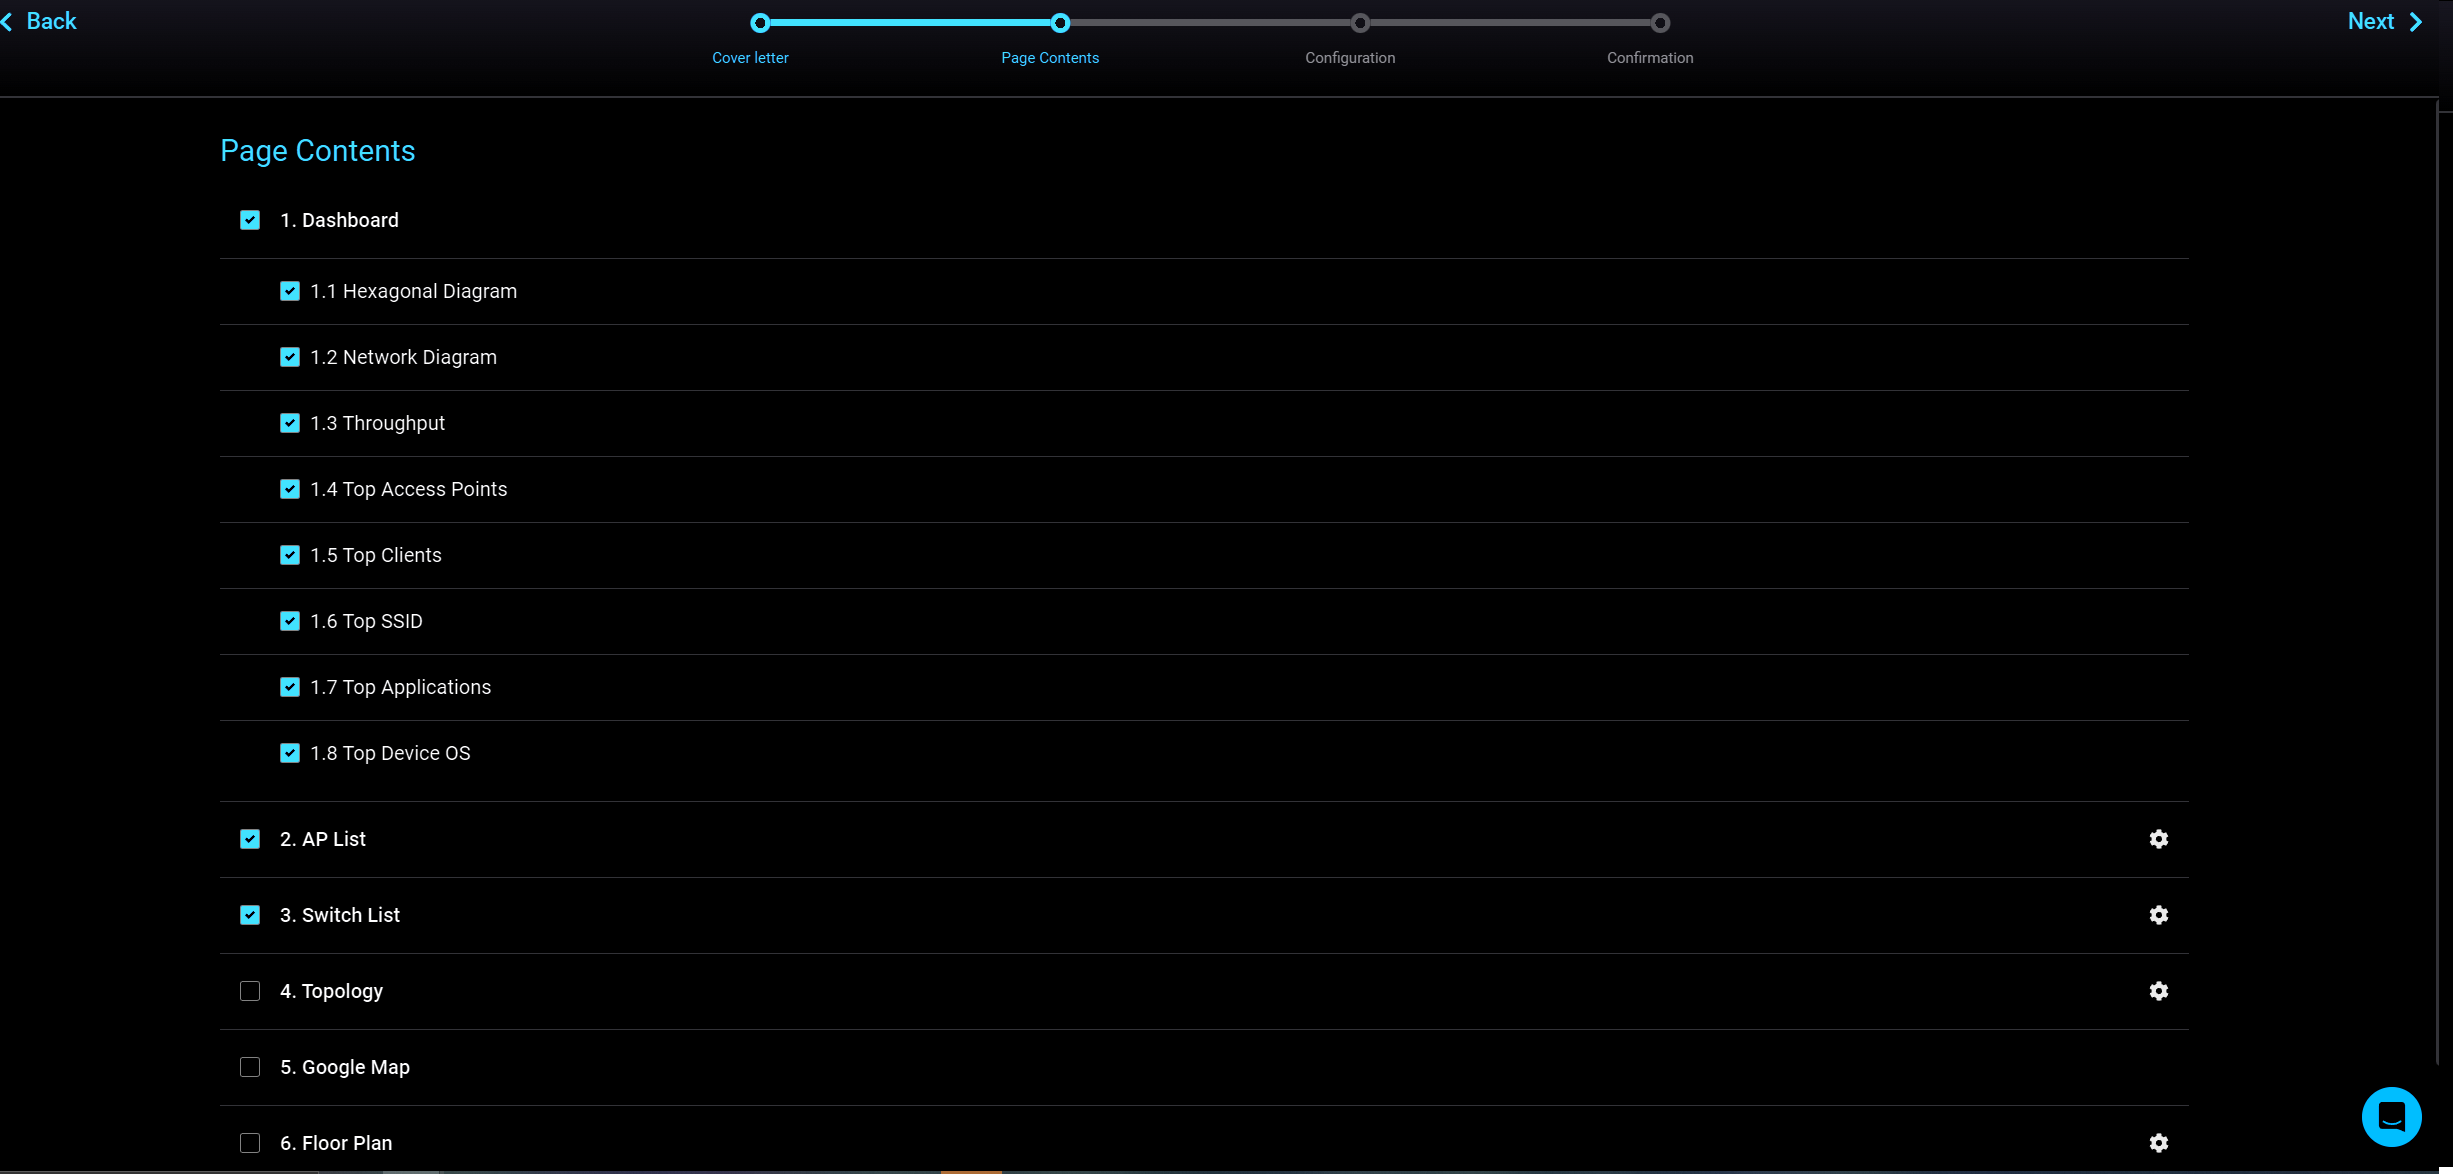
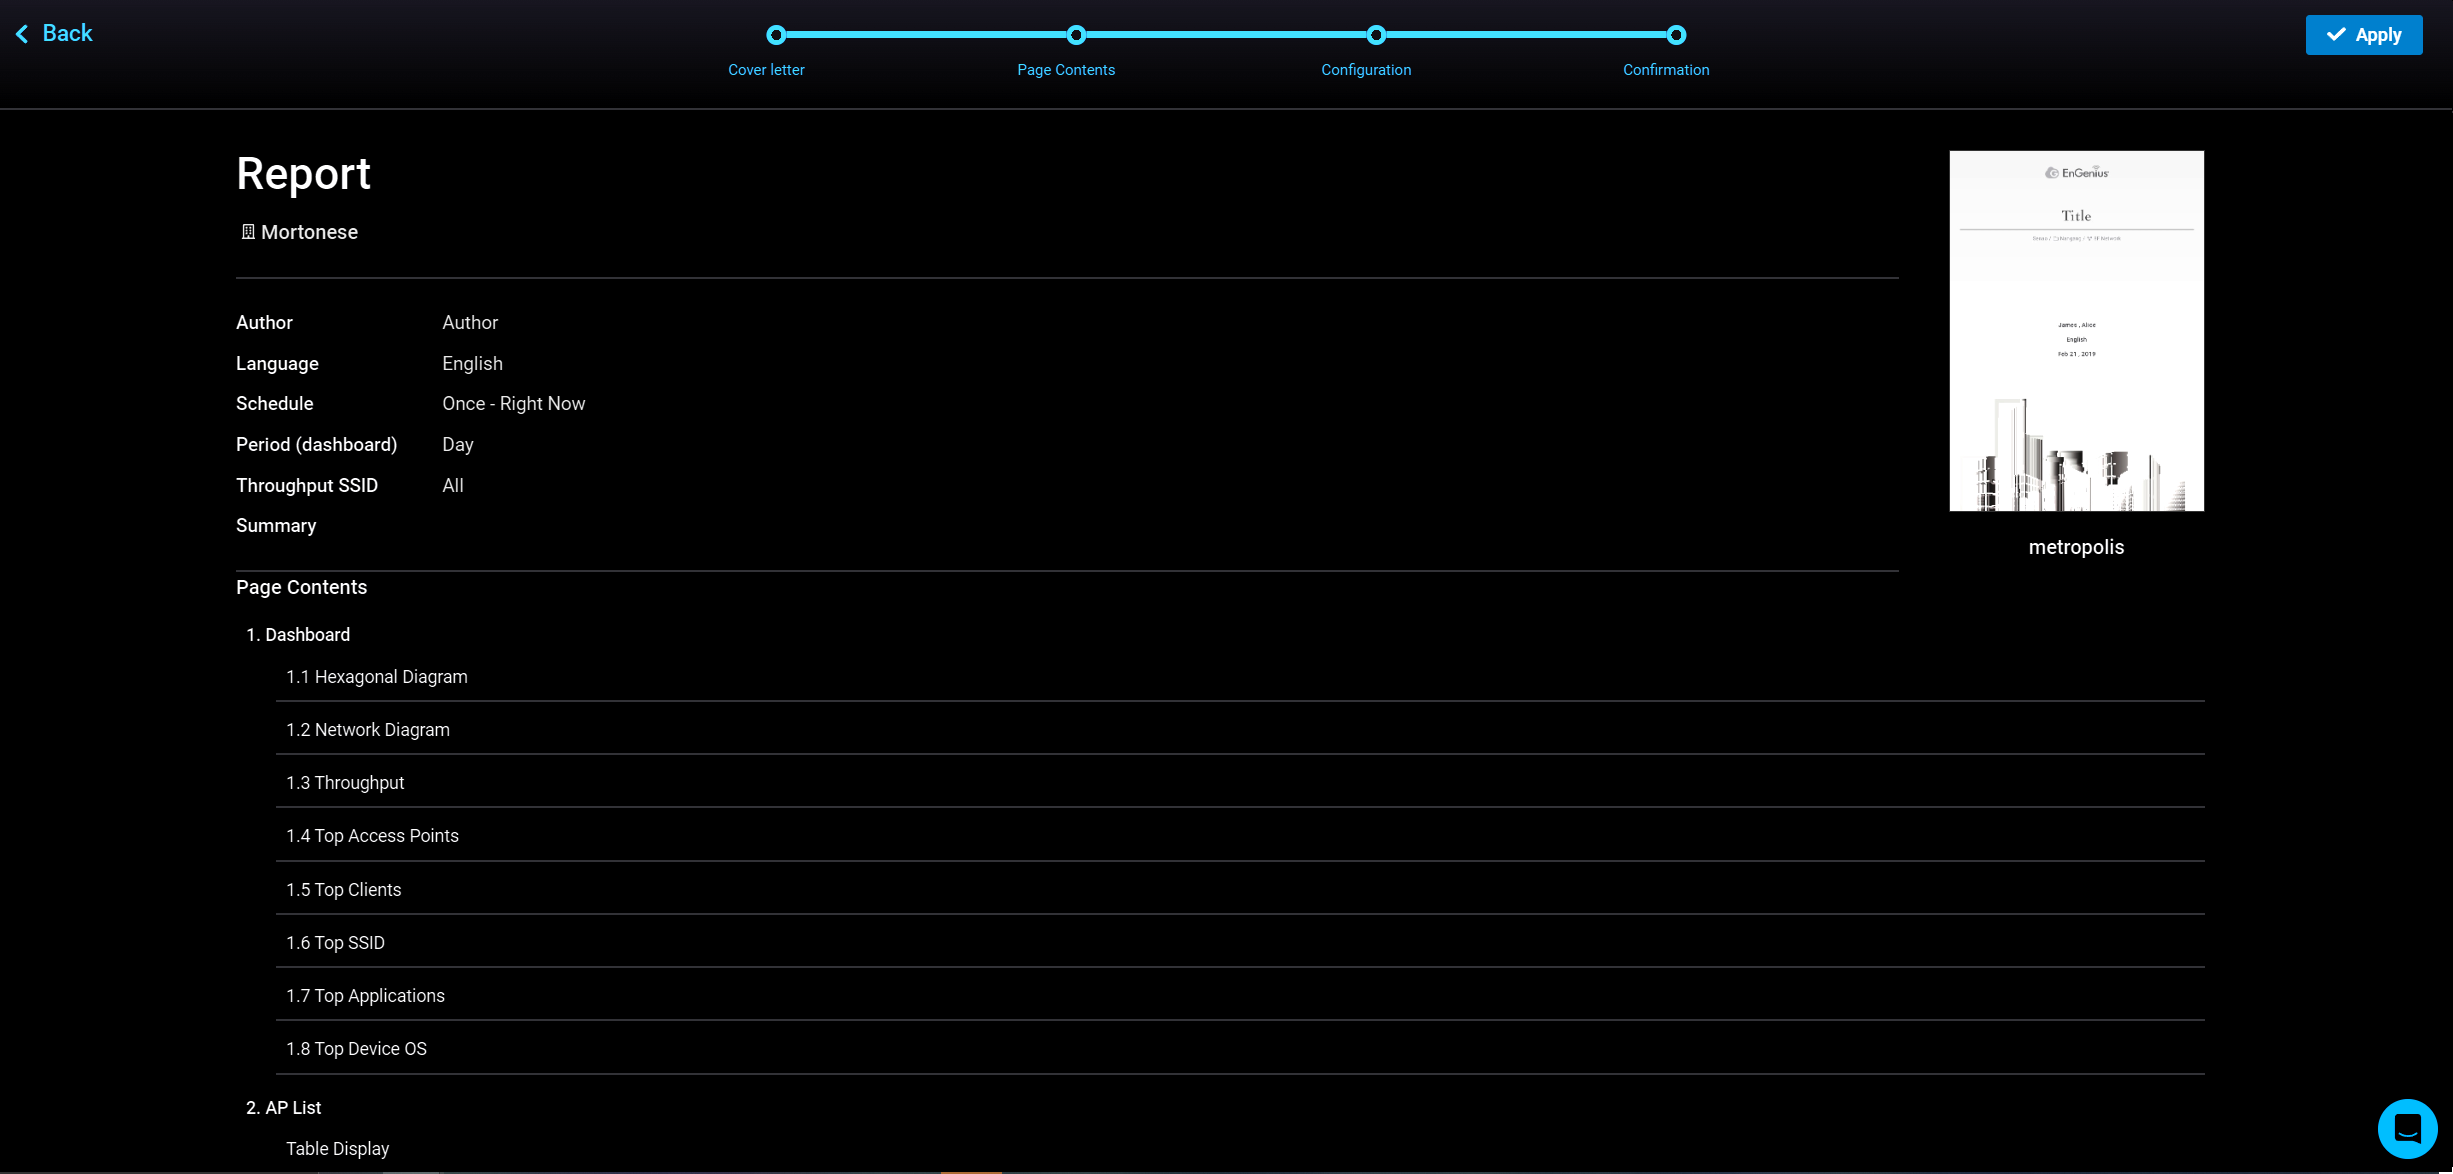
Moving up again brings us to the "Report" section. Here various reports on the status or current configuration of a network or organisation can be created. These can be generated by the scheduling of a "Task". Tasks are created and contain the configuration of a report, which contains many different metrics of the network and current status, along with a schedule and named recipients. Tasks, and the associated report, can only be created to occur once on the free tier, with the "pro" tierallowings for tasks to be run on a schedule. To create a task navigate to "Tasks" and click"+ New Task". Select a cover (Several different designs are provided; some basic, some more "executive"). There are options to enter a title and author, select the language and upload a logo (I'd assume intended for company logos). Clicking "Next" bring up the "Page Contents" section. Here various pages can be selected and modified to show, or visualise, different aspects of the configuration and network. Clicking "Next" again brings up the "Configuration" section. Here users can select the Organisation or Network that the report is being generated for, the schedule for the task (note that free only allows for one-time scheduling of tasks), and the email addresses to which the report is sent. Once that is done, the "Confirmation" section details the specified configuration of the task. Clicking "Apply" will apply the tasks, which will then be run at the specified time and the generated report distributed to the specified email addresses.
I've not really made good use of many platforms reporting systems, so I don't think I'm very well-placed to make comment on the subject. But this one seemed fine, it was easy to set up and offers a decent amount of functionality.
Once devices have been onboarded, they can be configured. This is done in the "Configure" section (Look for the Cog on the left-hand side). Access Point SSIDs and Radios, Switches, Gateway Interfaces and VPNs, along with Firmware, VLANs and other General Settings for the network and devices can be applied.
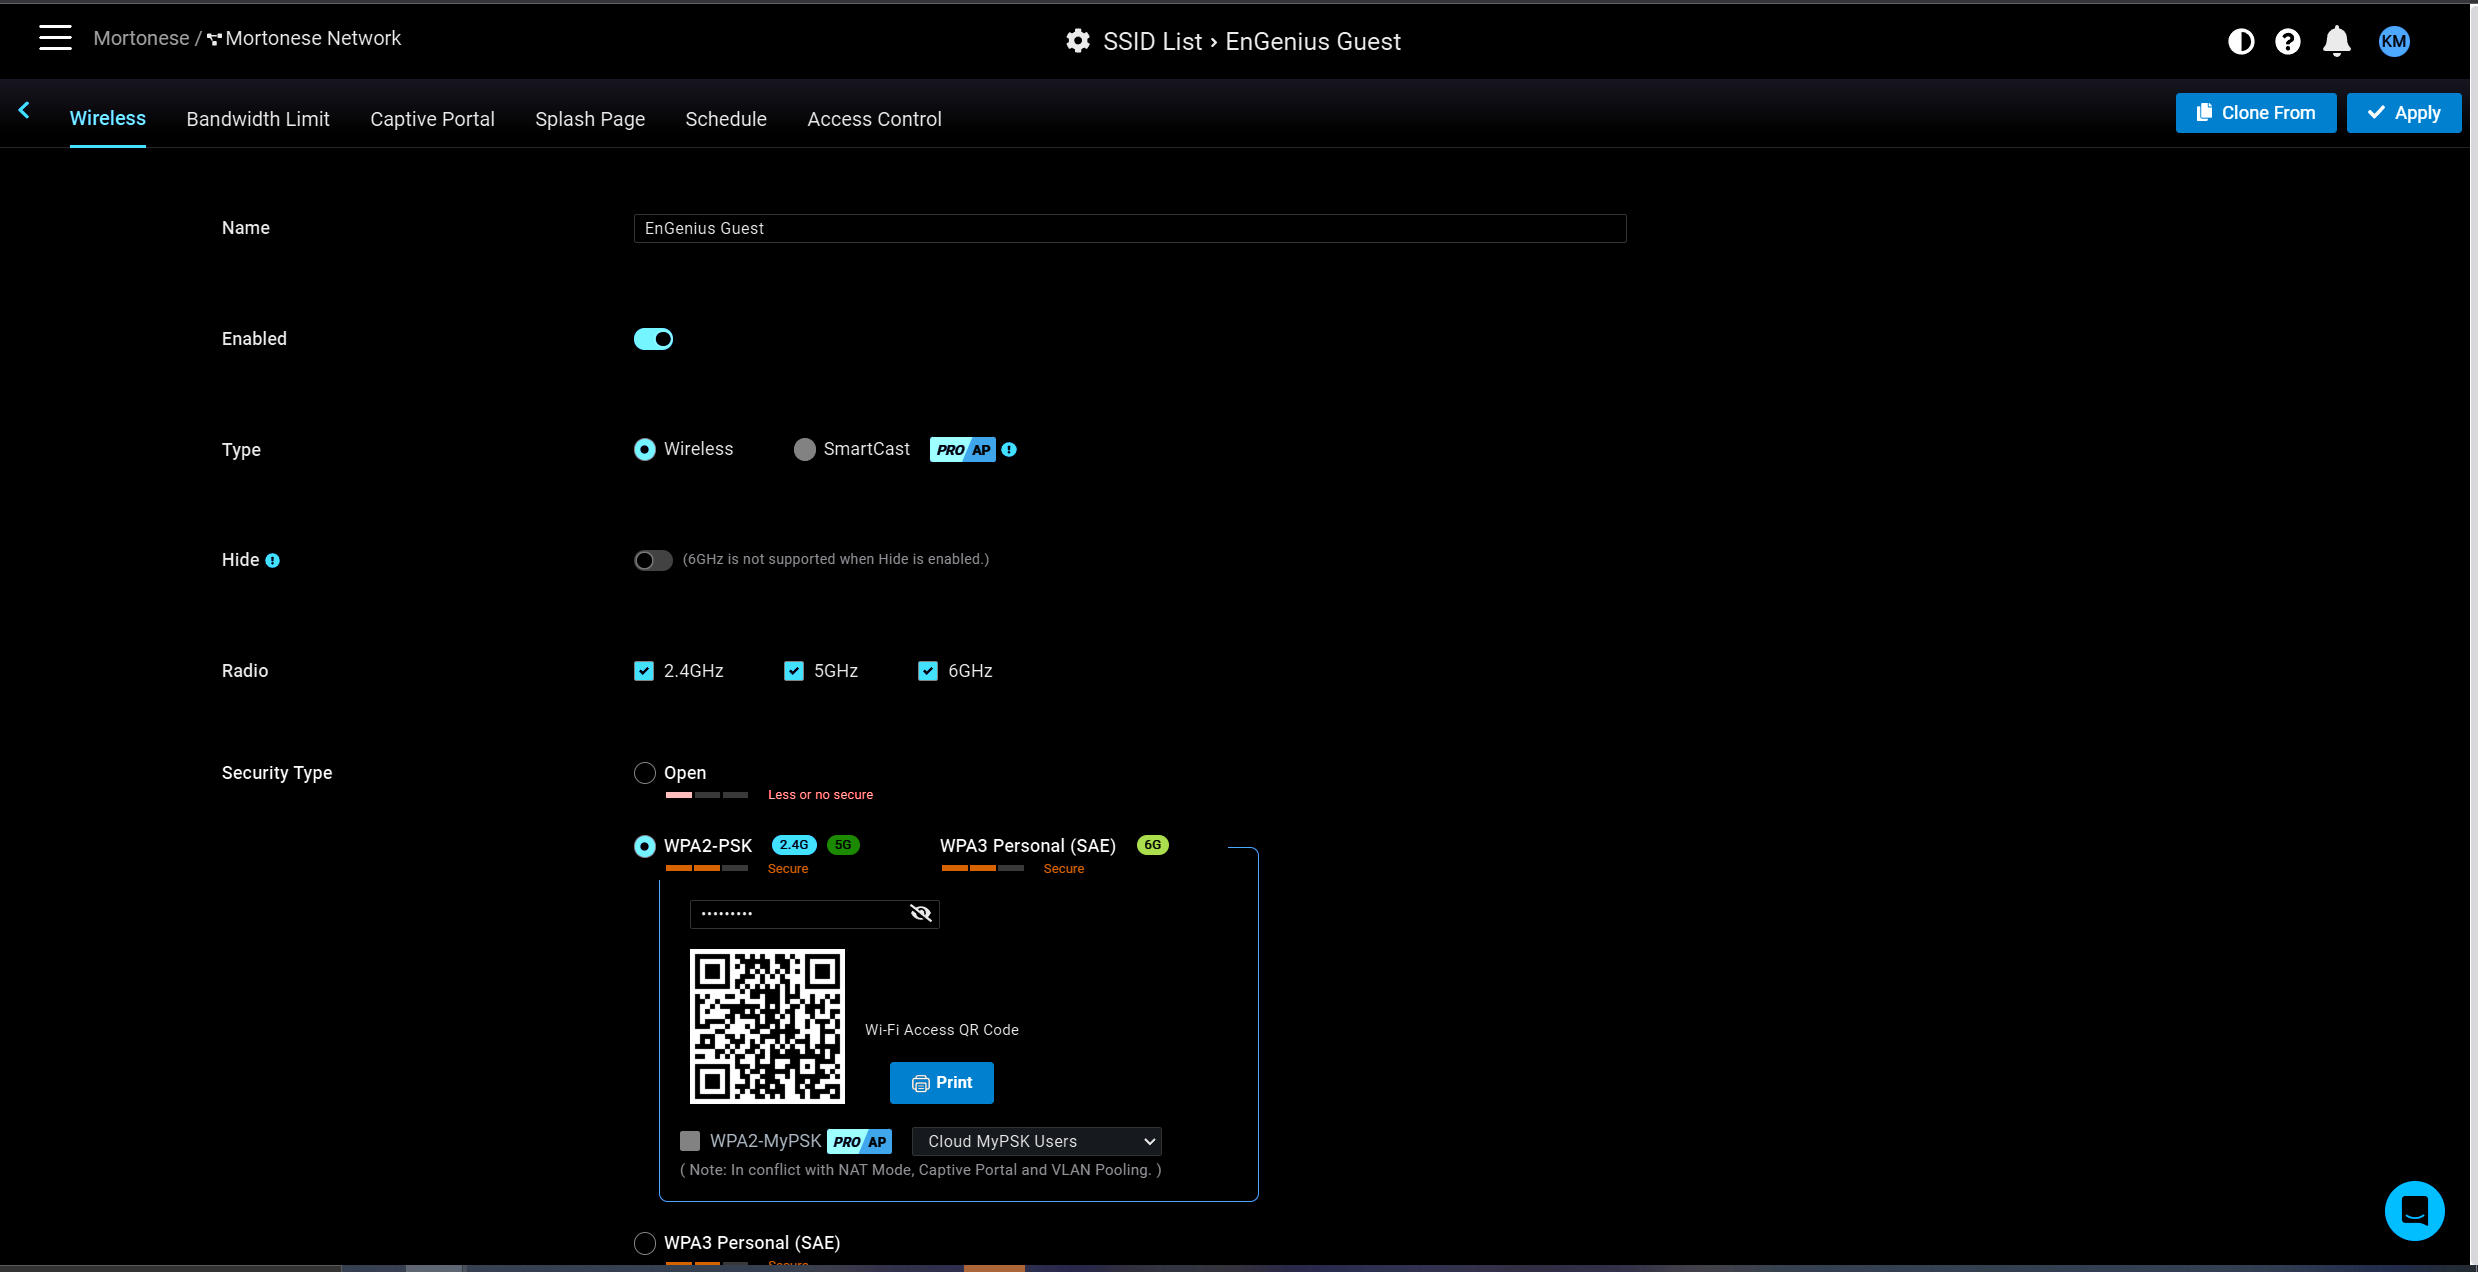
To configure a wireless network, navigate to "Configure -> Access Point -> SSID" and click "+ Add SSID". This will guide users through the configuration of a wireless network. Various authentication methods are provided, some are free whilst others are available with the "pro" licence. Captive portals and custom splash pages are available. The captive portals offer click-through and RADIUS along with a voucher service, and social login. There's also Facebook Wi-Fi which seems to be some integration with Facebook to redirect users to a specific Facebook page. Additional configurations such as Active Directory require a "pro" licence. The default splash pages are okay with some customizability. There isn't an option to upload your own pages (e.g. as .html) but there is an option to redirect to an external splash page. SSIDs can also be scheduled.
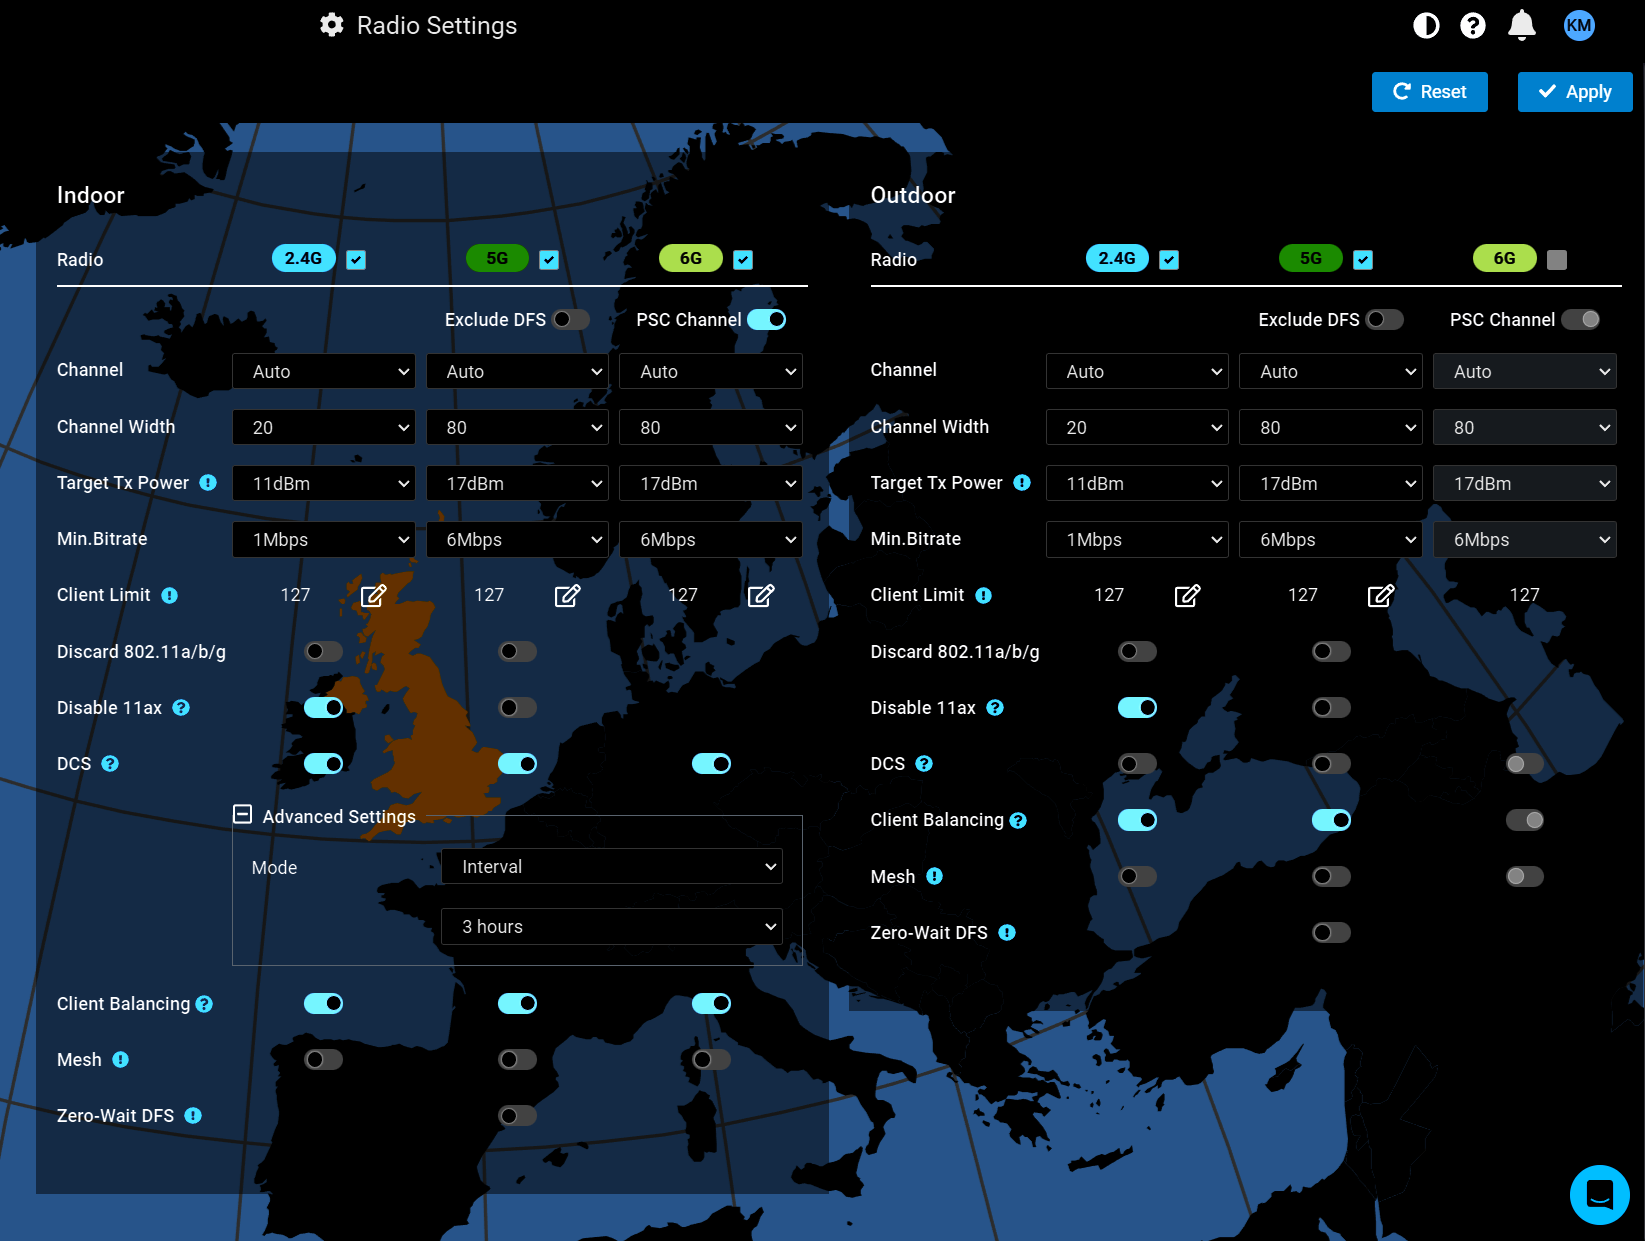
These config options are pretty good. I'm certainly satisfied with the options, even on the free tier. Contrary to this, however, are the "Radio Settings". These have the ability to set channels, width, target power etc. but are only available for all indoor and all outdoor APs. There's no extra granularity. You can change some settings on a per AP basis, but no groups. Unless of course I haven't found that particular setting. This might be a bit disappointing for anyone who may have different RF environments across their organisation.
There are a lot of other configuration options, along with the dashboard for management and analysis of the network and devices. I'm not going to go into those in this article though, otherwise it'll just become too long and boring. Perhaps I'll do some more focused articles on specific configurations of this platform.
My initial impressions of the system, are fairly good. It looks to be a capable system, with a tonne of functionality even at the free tier. Onboarding is easy and configuration has a fairly simple step-by-step approach that guides users through, with no steep learning curve.
Some functionality is missing though, especially that caters towards larger enterprises with multiple locations, multiple networks, and hundreds (or thousands) of devices. Things, such as the lack of easy bulk device onboarding, might put users of larger enterprises off.
However, for SMBs (SMEs? Is there a difference? What?) the EnGenius platform might be a good option for a fairly well-priced system which is easy to setup and use. Especially when those businesses might lack the knowledge or employees, to enable them to make use of an offering from a larger more enterprise focuses platform.